
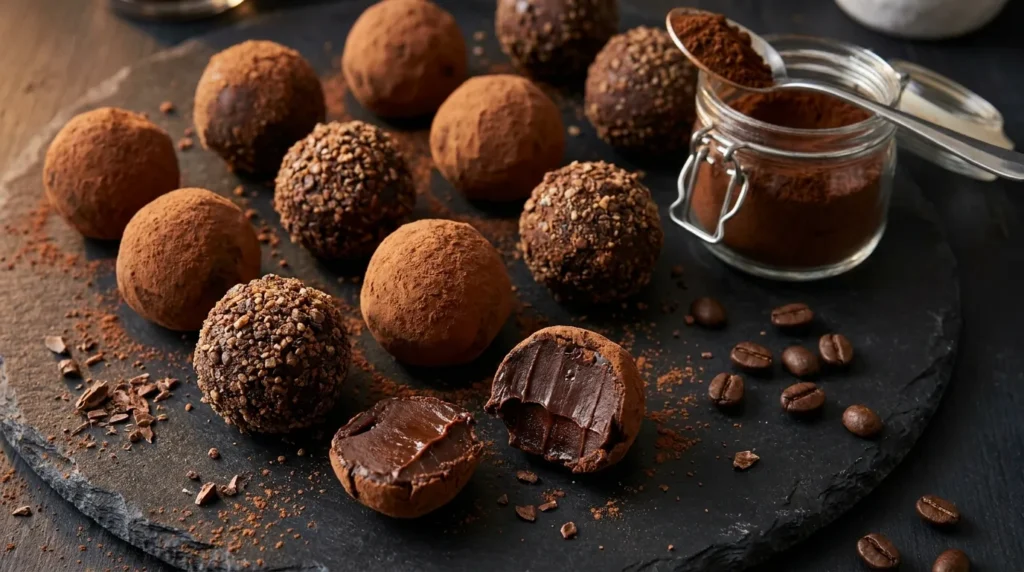
I made these no bake date and nut chocolate bars for the first time on a Tuesday afternoon when I was standing in my kitchen staring at a bag of Medjool dates, a container of mixed nuts, and a bar of dark chocolate wondering if I could turn them into something worth eating as a snack instead of reaching for the processed granola bars sitting in my pantry that I already knew were full of ingredients I could not pronounce. I blended the dates and nuts together, pressed the mixture into a pan, melted chocolate over the top, and refrigerated the whole thing for an hour. When I cut into those bars and took the first bite I immediately texted my sister and told her I had accidentally created the best snack bar I had ever eaten in my entire life. She came over that same evening and we finished the entire pan together while standing at my kitchen counter without a single apology between us.
Why You’ll Love This Recipe
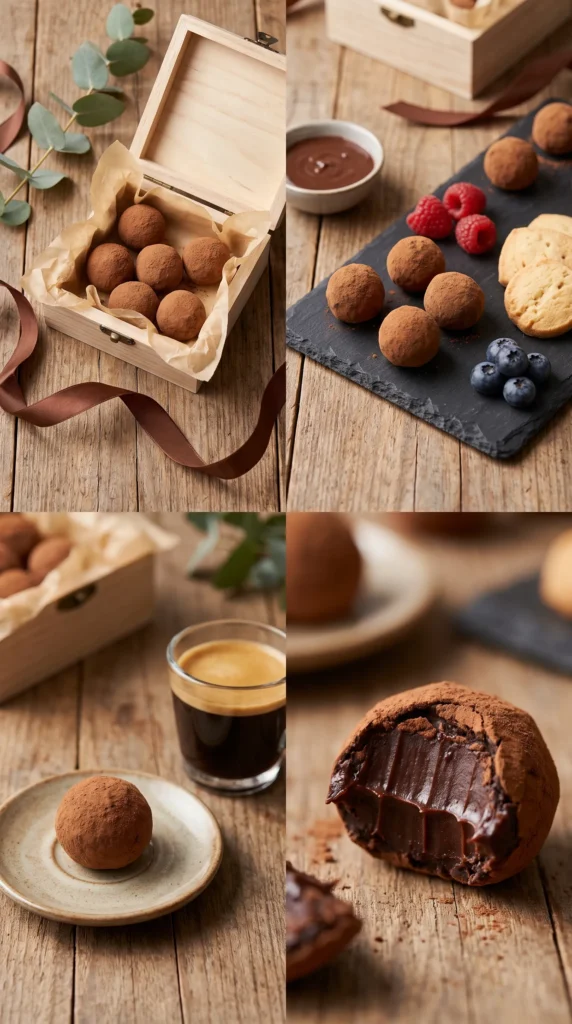
Only five wholesome ingredients create something that tastes genuinely indulgent and deeply satisfying. Medjool dates, mixed nuts, dark chocolate, coconut oil, and a pinch of sea salt is everything you need to produce a snack bar so rich and chewy that nobody ever believes it contains zero refined sugar or processed ingredients of any kind.
Completely no bake from start to finish with zero oven time required at any point. Blend, press, drizzle, chill and slice. The refrigerator does all the real work while you go about your day without standing over a stove or watching an oven timer anxiously.
Naturally sweetened, vegan, gluten free, and refined sugar free all at once. These bars check every dietary box simultaneously without tasting restricted or compromised in any way that makes you wish you were eating something else entirely instead.
Meal prep friendly and stores beautifully for an entire week. Make one batch on Sunday and healthy grab and go snacks are completely handled for every single day of the week ahead without any additional effort or morning preparation required whatsoever.
Kids love them as much as adults do which makes them genuinely rare among healthy snack recipes. My children grab these from the fridge with the same enthusiasm they bring to reaching for candy and that is honestly the highest possible praise any healthy snack recipe can ever receive from anyone.
Ingredients
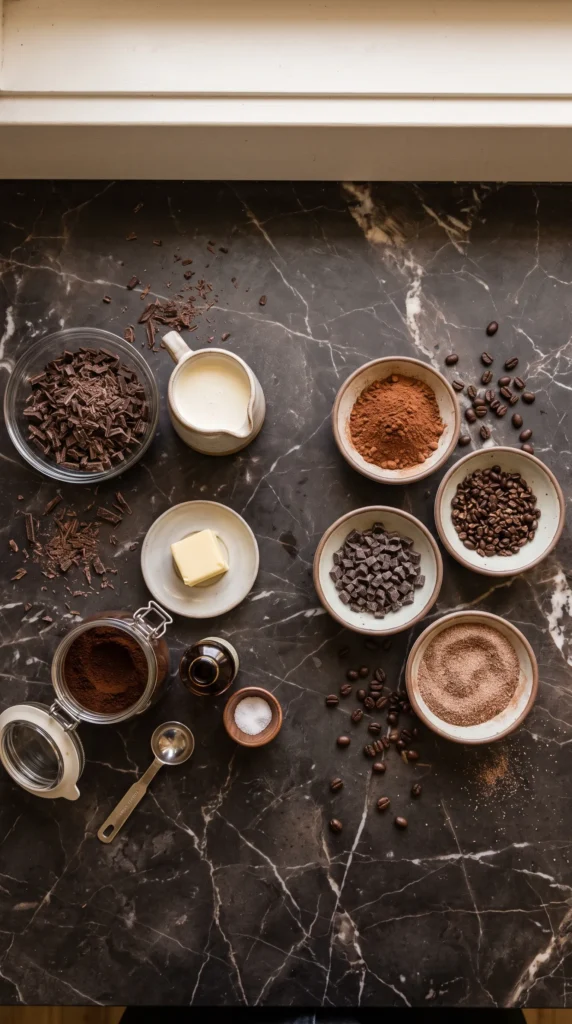
Date and Nut Base
- 2 cups Medjool dates, pitted and roughly chopped
- 1 cup raw almonds
- ½ cup raw cashews
- ½ cup raw walnuts
- 2 tbsp almond butter or peanut butter
- 1 tsp vanilla extract
- Pinch of fine sea salt
- 2 tbsp unsweetened shredded coconut, optional
Chocolate Topping
- 200g good quality dark chocolate, 70 percent cocoa or higher
- 1 tbsp coconut oil
- Flaky sea salt for finishing
Optional Mix-Ins
- 2 tbsp chia seeds for extra nutrition
- 2 tbsp hemp seeds for added protein
- ¼ cup dried cranberries for tartness
- 1 tsp cinnamon for warm spice depth
Step-by-Step Instructions
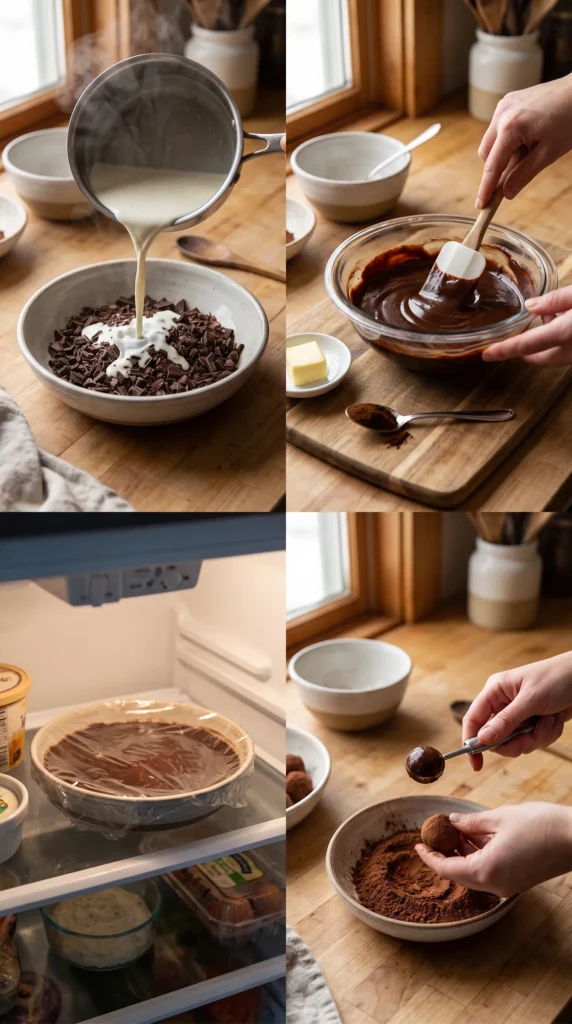
Step 1: Soak and Prepare the Dates
Place pitted Medjool dates in a bowl and cover with warm water for 10 minutes if they feel at all firm or dry to the touch. Fresh soft Medjool dates can go straight into the blender without soaking but slightly dried ones need this brief softening period to blend smoothly and create a sticky cohesive base that holds the entire bar together properly without any crumbling or falling apart when cut. Drain the soaked dates completely and pat them dry with paper towels before adding to the food processor because excess water makes the base too wet and sticky to press into a clean firm layer that sets properly in the refrigerator.
Step 2: Blend the Base Mixture
Add almonds, cashews, and walnuts to a food processor and pulse 8 to 10 times until roughly chopped into small uneven pieces with some larger chunks still visible throughout for texture. Add the prepared dates, almond butter, vanilla extract, sea salt, and any optional mix-ins you are using. Process continuously for 60 to 90 seconds until the mixture comes together into a sticky dense ball that holds its shape when pressed firmly between your fingers without crumbling apart. The mixture should feel like thick cookie dough that is slightly tacky rather than wet or oily which would indicate too much processing that has released too much natural oil from the nuts into the mixture.
Step 3: Press Into Pan and Chill
Line an 8 by 8 inch square baking pan with parchment paper leaving enough overhang on all sides to lift the finished bars out easily after chilling. Transfer the date and nut mixture into the prepared pan and press it down firmly and evenly using the back of a large spoon, a flat bottomed glass, or your hands pressing through a piece of parchment paper to prevent sticking. The layer should be completely even and compacted firmly across the entire surface with no loose areas or thin spots that would cause bars to crumble when cut later. Refrigerate the pressed base for 20 minutes while you prepare the chocolate topping.
Step 4: Add Chocolate Topping and Set
Melt dark chocolate and coconut oil together in a microwave-safe bowl in 30-second intervals stirring thoroughly between each one until completely smooth, glossy, and uniformly liquid with no solid pieces remaining anywhere. Pour the melted chocolate evenly over the chilled date and nut base spreading it quickly with the back of a spoon to reach every corner and edge of the pan surface completely. Immediately sprinkle flaky sea salt generously over the wet chocolate before it begins setting. Refrigerate the entire pan for at least 1 hour until the chocolate topping is completely firm and set all the way through before attempting to lift out and slice into bars.
Expert Tips
Always use Medjool dates rather than regular dried dates for the best possible results. Medjool dates are significantly larger, softer, and more naturally caramel-like in flavor than regular dried dates and they blend into a smooth sticky base that holds everything together without needing any additional sweetener or binding agent added to compensate for inferior sticking power.
Do not over-process the mixture past the point where it just comes together. Over-processing releases too much natural oil from the nuts and creates a greasy mixture that feels unpleasant in texture and produces bars that never quite firm up to the right consistency in the refrigerator no matter how long they chill. Stop processing the moment the mixture forms a ball and holds together cleanly.
Use the parchment paper overhang to lift bars cleanly out of the pan before slicing. Trying to cut bars directly in the pan crushes the edges and makes clean slices nearly impossible to achieve. Lifting the entire slab out onto a cutting board first and using a sharp knife with one clean downward pressing motion rather than a sawing back and forth motion gives you beautifully defined bars with clean edges every single time.
Variations
Peanut butter chocolate version: Replace almond butter with natural peanut butter and add two tablespoons of peanut butter chips to the base mixture before pressing into the pan. Drizzle an extra tablespoon of melted peanut butter over the chocolate topping in a zigzag pattern before the chocolate sets completely for a peanut butter cup inspired bar that tastes so indulgent and satisfying that nobody ever guesses it contains only wholesome natural ingredients throughout.
Tropical version: Replace walnuts with macadamia nuts, add half a cup of unsweetened toasted coconut to the base mixture, and use white chocolate for the topping instead of dark chocolate. A sprinkle of freeze dried mango pieces on top of the white chocolate before it sets creates something that genuinely tastes like a tropical vacation in bar form and makes these stand out dramatically on any snack table or gift platter.
Spiced chai version: Add one teaspoon of cinnamon, half a teaspoon of cardamom, quarter teaspoon of ginger, and a pinch of black pepper directly into the base mixture during processing. The warm aromatic spices transform the flavor profile completely into something deeply complex and cozy that pairs extraordinarily well with a cup of hot tea on a cold afternoon when you want something satisfying and warming at the same time.
Storage & Serving
Refrigerator: Store cut bars in an airtight container lined with parchment paper between layers for up to 10 days. The bars actually improve in flavor and texture after the first day as everything settles and firms together making them genuinely ideal for weekly meal prep without any quality deterioration across the storage period.
Freezer: Freeze individual bars wrapped tightly in parchment paper then placed in a sealed freezer bag for up to 3 months without any loss of flavor or texture quality whatsoever. Thaw individual bars at room temperature for 15 minutes before eating or eat them straight from the freezer slightly frozen for a firmer chewier texture that many people actually prefer over the refrigerated version.
Room temperature: These bars soften considerably at room temperature especially in warm weather because the coconut oil in the chocolate topping begins to melt above 76°F. Keep them refrigerated or in a cool environment at all times for bars that hold their shape and remain easy to handle without making a mess.
Serve alongside: A hot cup of black coffee or herbal tea, a glass of cold almond milk, a piece of fresh fruit, a dollop of Greek yogurt on the side, a drizzle of extra honey for additional sweetness, or packaged in cellophane bags tied with ribbon as a genuinely thoughtful and impressive homemade gift for anyone who appreciates real food made with wholesome natural ingredients.
FAQs
Can I use regular dried dates instead of Medjool dates?
Regular dried dates work but produce a noticeably drier and less caramel-like base that requires more soaking time and sometimes additional almond butter to achieve the right sticky consistency. Medjool dates are worth seeking out at most grocery stores or health food shops because the flavor and texture difference in the finished bars is genuinely significant and immediately noticeable.
My mixture is too dry and crumbly. How do I fix it?
Add one tablespoon of almond butter or a small splash of warm water at a time while processing until the mixture just comes together into a ball. The dates may have been too dry before processing and needed longer soaking time to fully soften. Process a little longer after adding liquid until the mixture reaches that perfect sticky dough-like consistency that holds together when pressed.
Can I make these without a food processor?
A high powered blender works reasonably well though you may need to process in smaller batches and scrape down the sides more frequently. Without any blending equipment chop the nuts very finely by hand, mash the dates thoroughly with a fork until paste-like, then combine everything together by hand kneading the mixture firmly until it comes together into a cohesive mass that holds its shape when pressed.
How do I prevent the chocolate topping from cracking when I slice the bars?
Let the bars sit at room temperature for exactly 5 minutes before slicing to allow the chocolate to soften very slightly from its fully set state. Use a sharp knife warmed briefly under hot water and dried completely between each cut. A warm dry blade glides cleanly through the chocolate layer without cracking or shattering it into pieces across the top of the bar.
Can I reduce the sweetness of these bars?
The sweetness comes entirely from the natural sugars in Medjool dates and dark chocolate so reducing sweetness means using fewer dates or choosing a higher percentage cocoa dark chocolate for the topping. An 85 percent dark chocolate topping creates a more intensely bitter contrast against the naturally sweet date base that many people who prefer less sweet snacks find genuinely more appealing than the standard version.
Are these bars suitable for children?
Absolutely yes and mine request them constantly as after school snacks and lunch box treats without any coaxing required. For younger children who prefer milder chocolate use milk chocolate for the topping instead of dark chocolate and skip the flaky sea salt on top which some children find surprising and off-putting when they are not expecting a salty element on something that looks sweet.
Can I add protein powder to boost the nutritional content?
One scoop of vanilla or unflavored protein powder can be added directly into the food processor with the other base ingredients without affecting the texture significantly as long as you add an extra tablespoon of almond butter alongside it to compensate for the additional dry ingredient that protein powder introduces into the mixture.
Final Thoughts
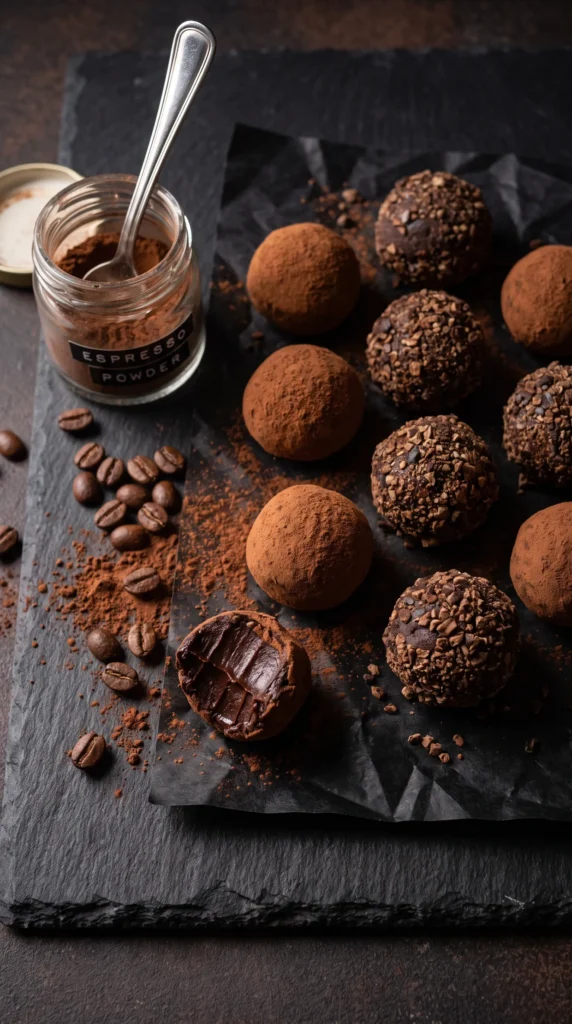
Healthy no bake date and nut chocolate bars have become the recipe I make more consistently than almost any other snack in my entire kitchen right now and the one I share most freely with absolutely everyone who asks me what I have been snacking on lately because the answer genuinely surprises people every single time. Five ingredients, zero baking, one hour of chilling, and ten days of healthy delicious snacks waiting in your refrigerator whenever hunger strikes is a combination that is honestly impossible to argue with on any level. Save this pin right now and make a batch this weekend because your snack drawer is about to get a serious and permanent upgrade that your whole family will thank you for immediately. Drop a comment below telling me which variation you tried first because I genuinely cannot wait to hear every single delicious detail about your experience making these bars!