
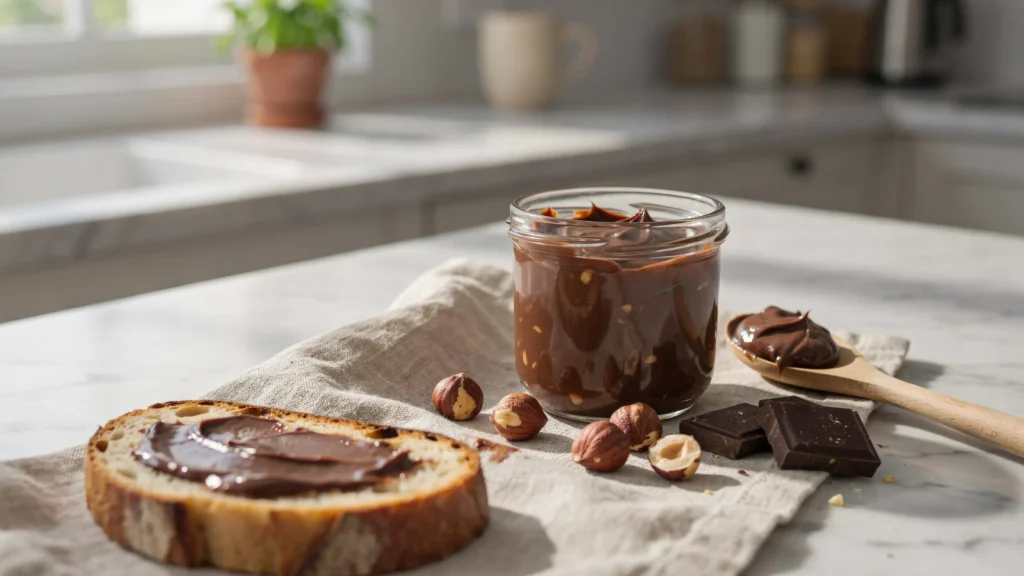
I made this vegan Nutella for the first time on a Sunday morning when my daughter asked for Nutella on her toast and I realized we had completely run out with zero plans to go to the grocery store. I had hazelnuts, dark chocolate, and maple syrup sitting in my pantry and decided to just blend them together and see what happened. What came out of that blender twenty minutes later was so creamy and so deeply chocolatey that my daughter took one bite, looked up at me, and said this is better than the real one. Coming from a seven year old who takes her Nutella extremely seriously that meant everything. This recipe has lived permanently in my kitchen ever since that morning.
Why You’ll Love This Recipe
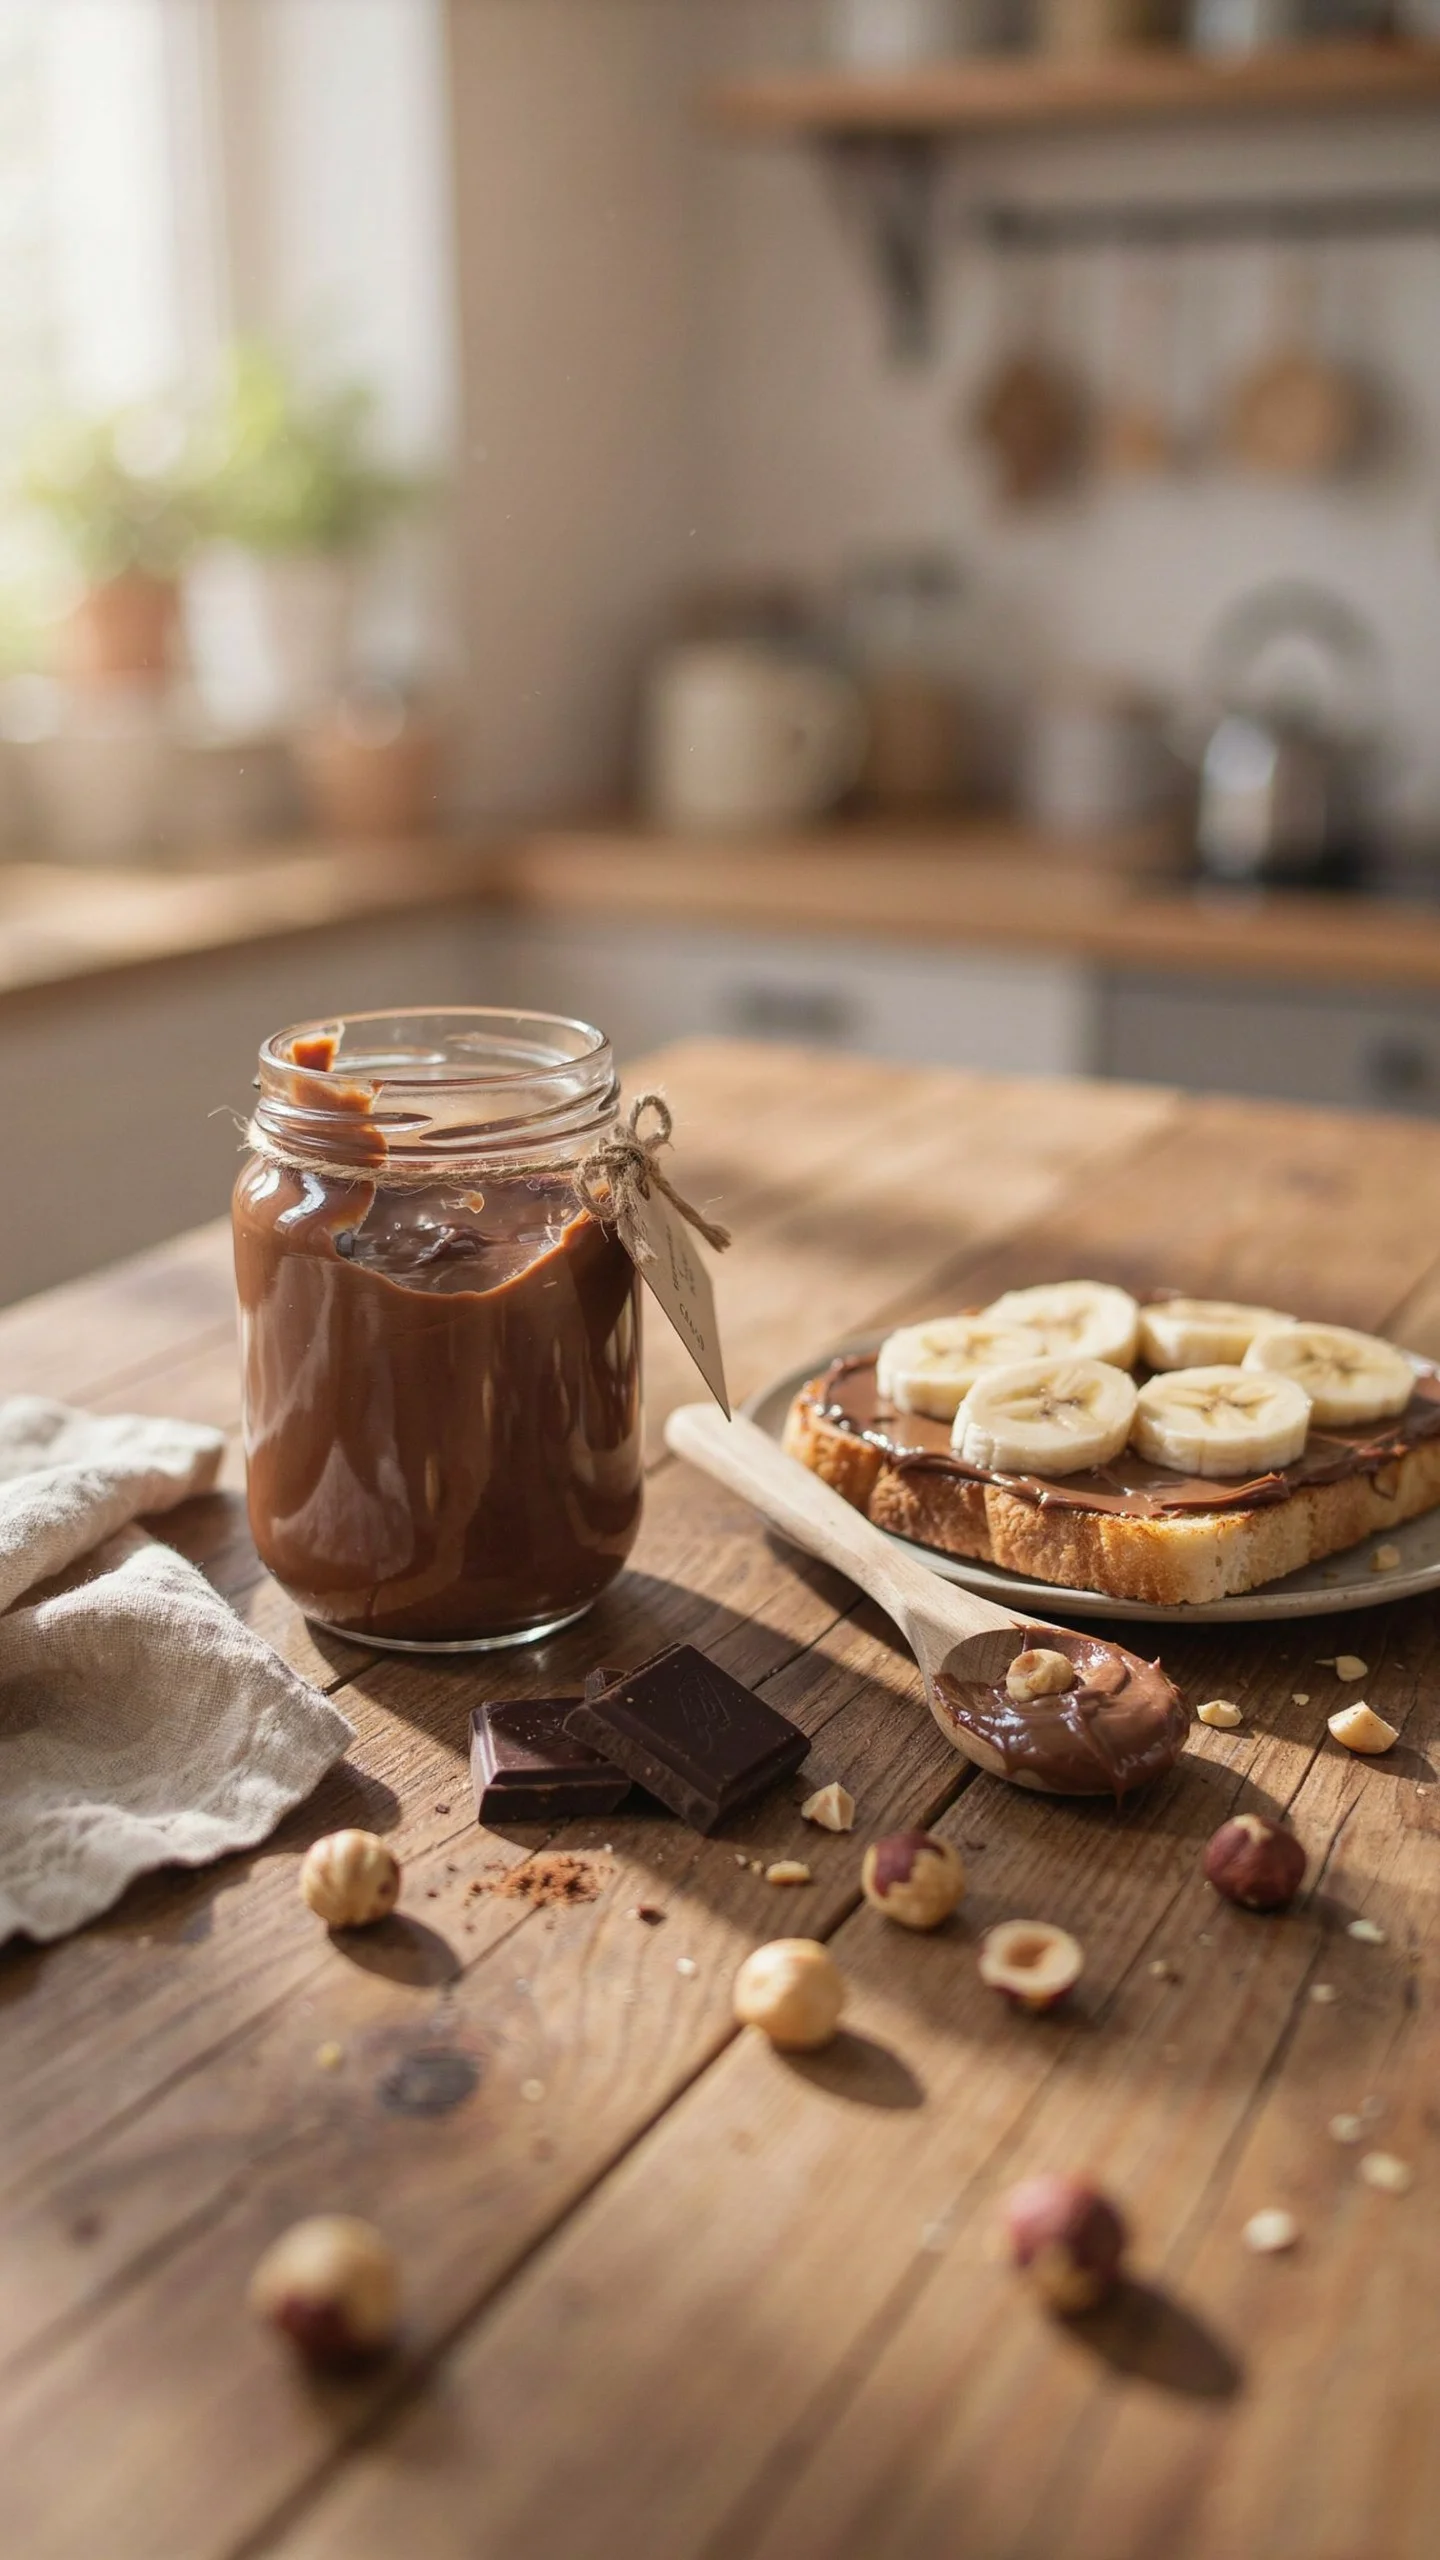
Only three ingredients stand between you and the most incredible chocolate hazelnut spread you have ever tasted. Hazelnuts, dark chocolate, and maple syrup is the entire ingredient list and every single one pulls serious flavor weight in the finished product.
It tastes dramatically better than store bought Nutella. No palm oil, no artificial flavors, no mystery additives, just pure roasted hazelnut and rich dark chocolate flavor that tastes clean and completely real.
Completely vegan, dairy free, and refined sugar free without tasting like any of those things. This spread tastes genuinely indulgent and satisfying without compromising any dietary preference making it accessible to almost everyone.
Takes twenty minutes and one blender to produce something that lasts two weeks in your fridge. The most effort intensive part is waiting for the hazelnuts to finish roasting and even that requires nothing except setting a timer and walking away.
Ingredients
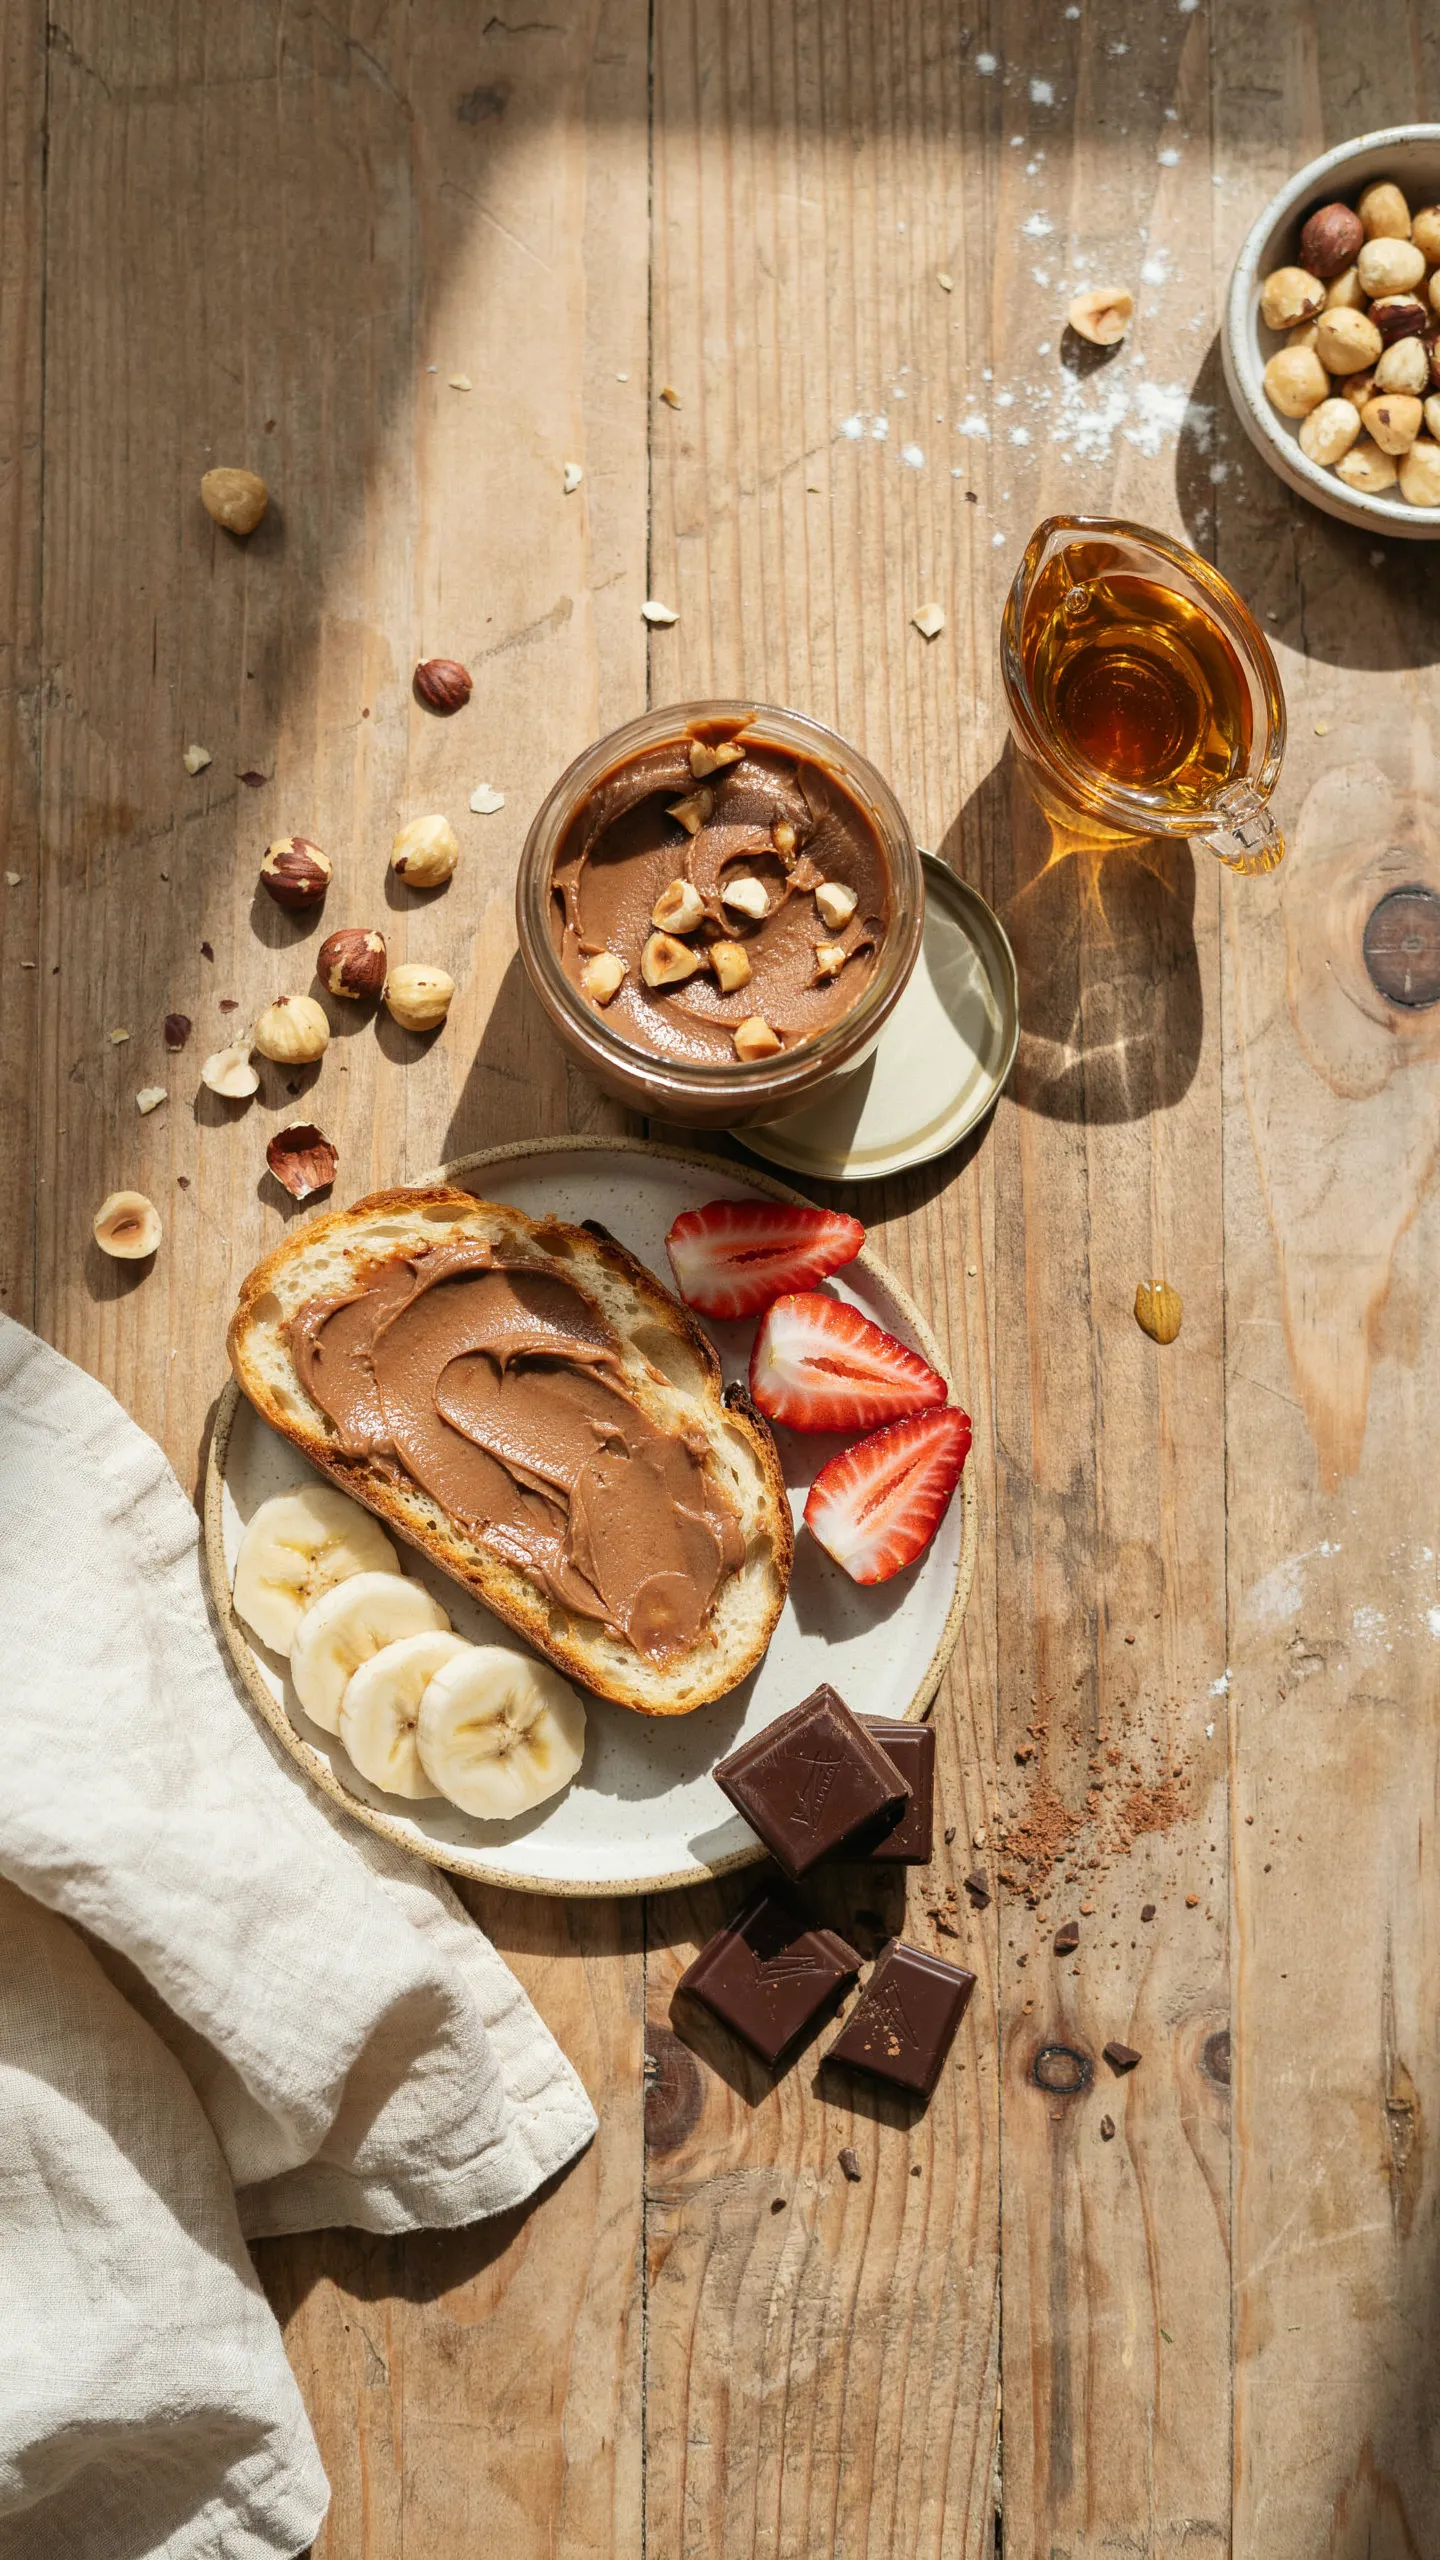
The Complete Three Ingredient List
- 2 cups raw hazelnuts
- 200g good quality dark chocolate, 70 percent cocoa or higher, roughly chopped
- 3 tbsp maple syrup or to taste
Optional Additions
- 1 tsp vanilla extract for extra depth
- Pinch of fine sea salt to balance sweetness
- 2 tbsp melted coconut oil for a thinner consistency
Step-by-Step Instructions
Step 1: Roast the Hazelnuts
Preheat your oven to 350°F and spread raw hazelnuts in a single even layer on a rimmed baking sheet. Roast for 12 to 15 minutes, shaking the pan once halfway through, until the skins crack and pull away and the nuts underneath look deep golden brown. Watch carefully during the last few minutes because hazelnuts go from perfectly roasted to burnt very quickly and there is no recovering from over roasted nuts in a recipe this simple.
Step 2: Remove the Skins
Transfer hot roasted hazelnuts immediately onto a clean kitchen towel and fold the towel over the top. Rub vigorously for about 60 seconds until most of the papery brown skins fall away completely. Getting as much skin off as possible is worth the extra minute of effort because hazelnut skins are bitter and even a small amount left on adds an unpleasant edge to what should be a perfectly smooth and sweet finished spread.
Step 3: Blend Into Smooth Hazelnut Butter
Add warm skinned hazelnuts to a high powered blender or food processor and blend continuously, scraping down the sides every 60 seconds. The hazelnuts go through several stages from coarse crumble to thick paste to grainy butter and finally after 8 to 10 minutes a completely smooth silky hazelnut butter that looks glossy and flows easily. Do not stop too early because fully processed smooth hazelnut butter is what gives the finished spread its extraordinary creamy texture.
Step 4: Add Chocolate and Maple Syrup
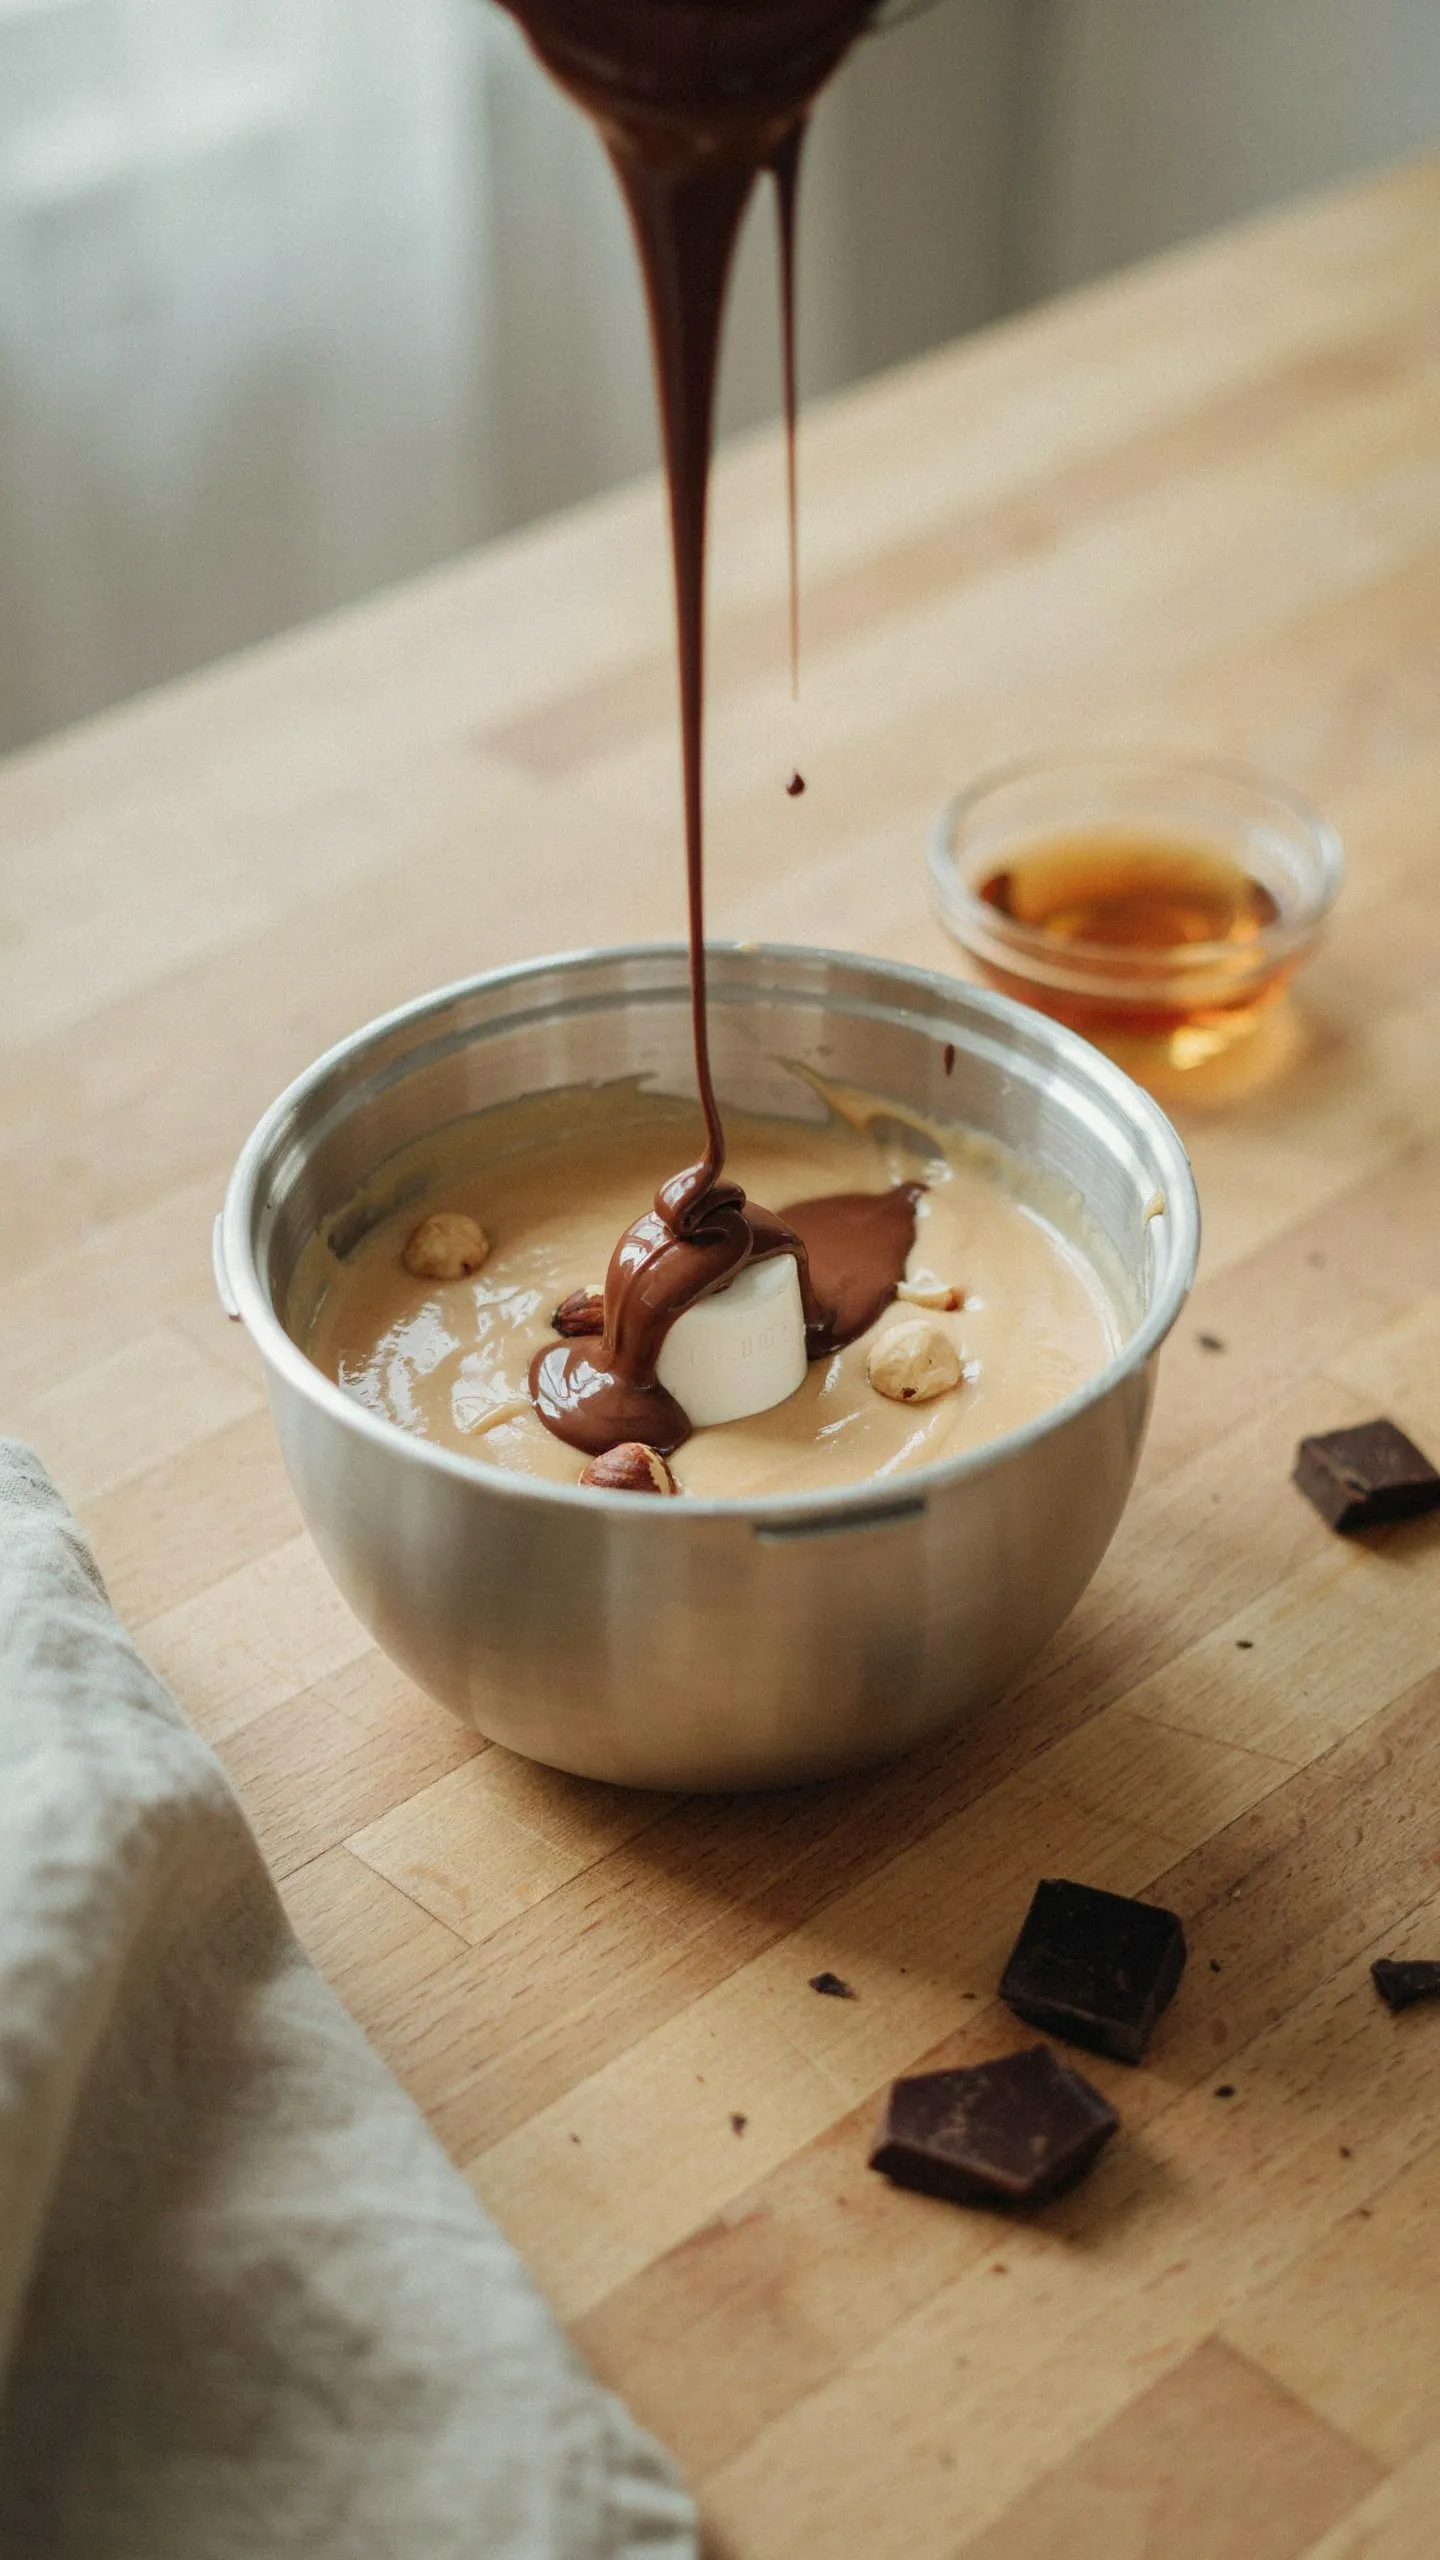
Melt chopped dark chocolate in a microwave-safe bowl in 30-second intervals stirring between each one until completely smooth and glossy. Pour melted chocolate and maple syrup directly into the blender with the hazelnut butter. Add vanilla and salt if using. Blend for another 60 to 90 seconds until completely combined and silky smooth throughout. Taste and add more maple syrup if you want it sweeter or more salt to intensify the chocolate flavor.
Expert Tips
Use the best quality dark chocolate you can afford. With only three ingredients every single one shows up clearly in the final flavor and a good 70 percent dark chocolate bar produces something that tastes complex and deeply satisfying in a way that cheap baking chips simply cannot replicate.
Blend hazelnuts while still warm from the oven. Warm nuts release their natural oils more readily which means you reach smooth glossy hazelnut butter faster and with less strain on your blender motor than cold nuts ever produce.
Add melted chocolate while still warm and pourable. Warm chocolate blends seamlessly into hazelnut butter. Cooled and thickened chocolate can seize and create a grainy uneven texture that is very difficult to fix without starting completely over.
Variations
Dark chocolate orange version: Add one teaspoon of fresh orange zest along with the melted chocolate. The bright citrus cuts through the richness beautifully and tastes genuinely sophisticated with almost zero extra effort.
Mocha version: Add one teaspoon of instant espresso powder to the melted chocolate before combining. Coffee deepens and intensifies the chocolate flavor dramatically making the finished spread taste like something from an expensive artisan chocolate shop.
Extra crunchy version: After blending to complete smoothness stir in half a cup of roughly chopped roasted hazelnuts by hand. Spread on toast with sliced banana on top and it becomes one of the best breakfast combinations you will ever discover in your entire life.
Storage & Serving
Refrigerator: Store in a clean glass jar for up to 2 weeks. Remove from the fridge 15 to 20 minutes before using to soften back to a perfectly spreadable consistency.
Room temperature: Keeps well for up to 5 days in a cool kitchen away from direct sunlight making it conveniently spreadable at all times without any warming needed.
Freezer: Freeze in a sealed jar for up to 3 months. Thaw overnight in the refrigerator then bring to room temperature for 20 minutes before using. Texture and flavor stay completely intact.
Serve alongside: Warm toast with strawberries, fresh crepes with banana, apple slices for dipping, waffles with powdered sugar, warm croissants, overnight oats with a swirl stirred through, or straight from the jar with a spoon at midnight because sometimes that is genuinely the most appropriate serving method available.
FAQs
Do I need a high powered blender?
A high powered blender produces the smoothest results fastest. A regular food processor works perfectly but takes longer and needs more frequent scraping. Give it extra time and patience and it absolutely gets you there.
Can I use pre roasted hazelnuts?
Yes and it saves significant time. Skip the roasting and skin removal steps entirely and blend straight away. The flavor is slightly less intense but still genuinely delicious and far better than any store bought version.
Why is my spread grainy instead of smooth?
The hazelnuts were not blended long enough to fully release their natural oils. Return everything to the blender and process several more minutes. Adding a tablespoon of melted coconut oil also helps move stubborn grainy butter toward a smoother and creamier consistency.
Can I use milk chocolate instead of dark?
You can but the spread becomes considerably sweeter and less complex. Reduce maple syrup to one tablespoon or skip it entirely to avoid a finished spread that tastes overwhelmingly sweet rather than beautifully balanced.
How do I make this thinner and more pourable?
Add melted coconut oil one tablespoon at a time while blending until you reach your desired consistency. Two to three tablespoons produces a beautifully pourable sauce perfect for drizzling over ice cream and pancakes.
Can I use a different sweetener?
Agave nectar works as a direct substitute. Medjool dates blended with a little water produce a whole food option with extra fiber. Regular sugar dissolved in warm water also works though it creates a slightly different texture some people notice.
Is this safe for people with nut allergies?
No. Hazelnuts are tree nuts and this recipe is entirely built around them. Sunflower seed butter combined with melted dark chocolate and maple syrup produces a nut free alternative that follows a similar method and creates a surprisingly similar result.
Final Thoughts
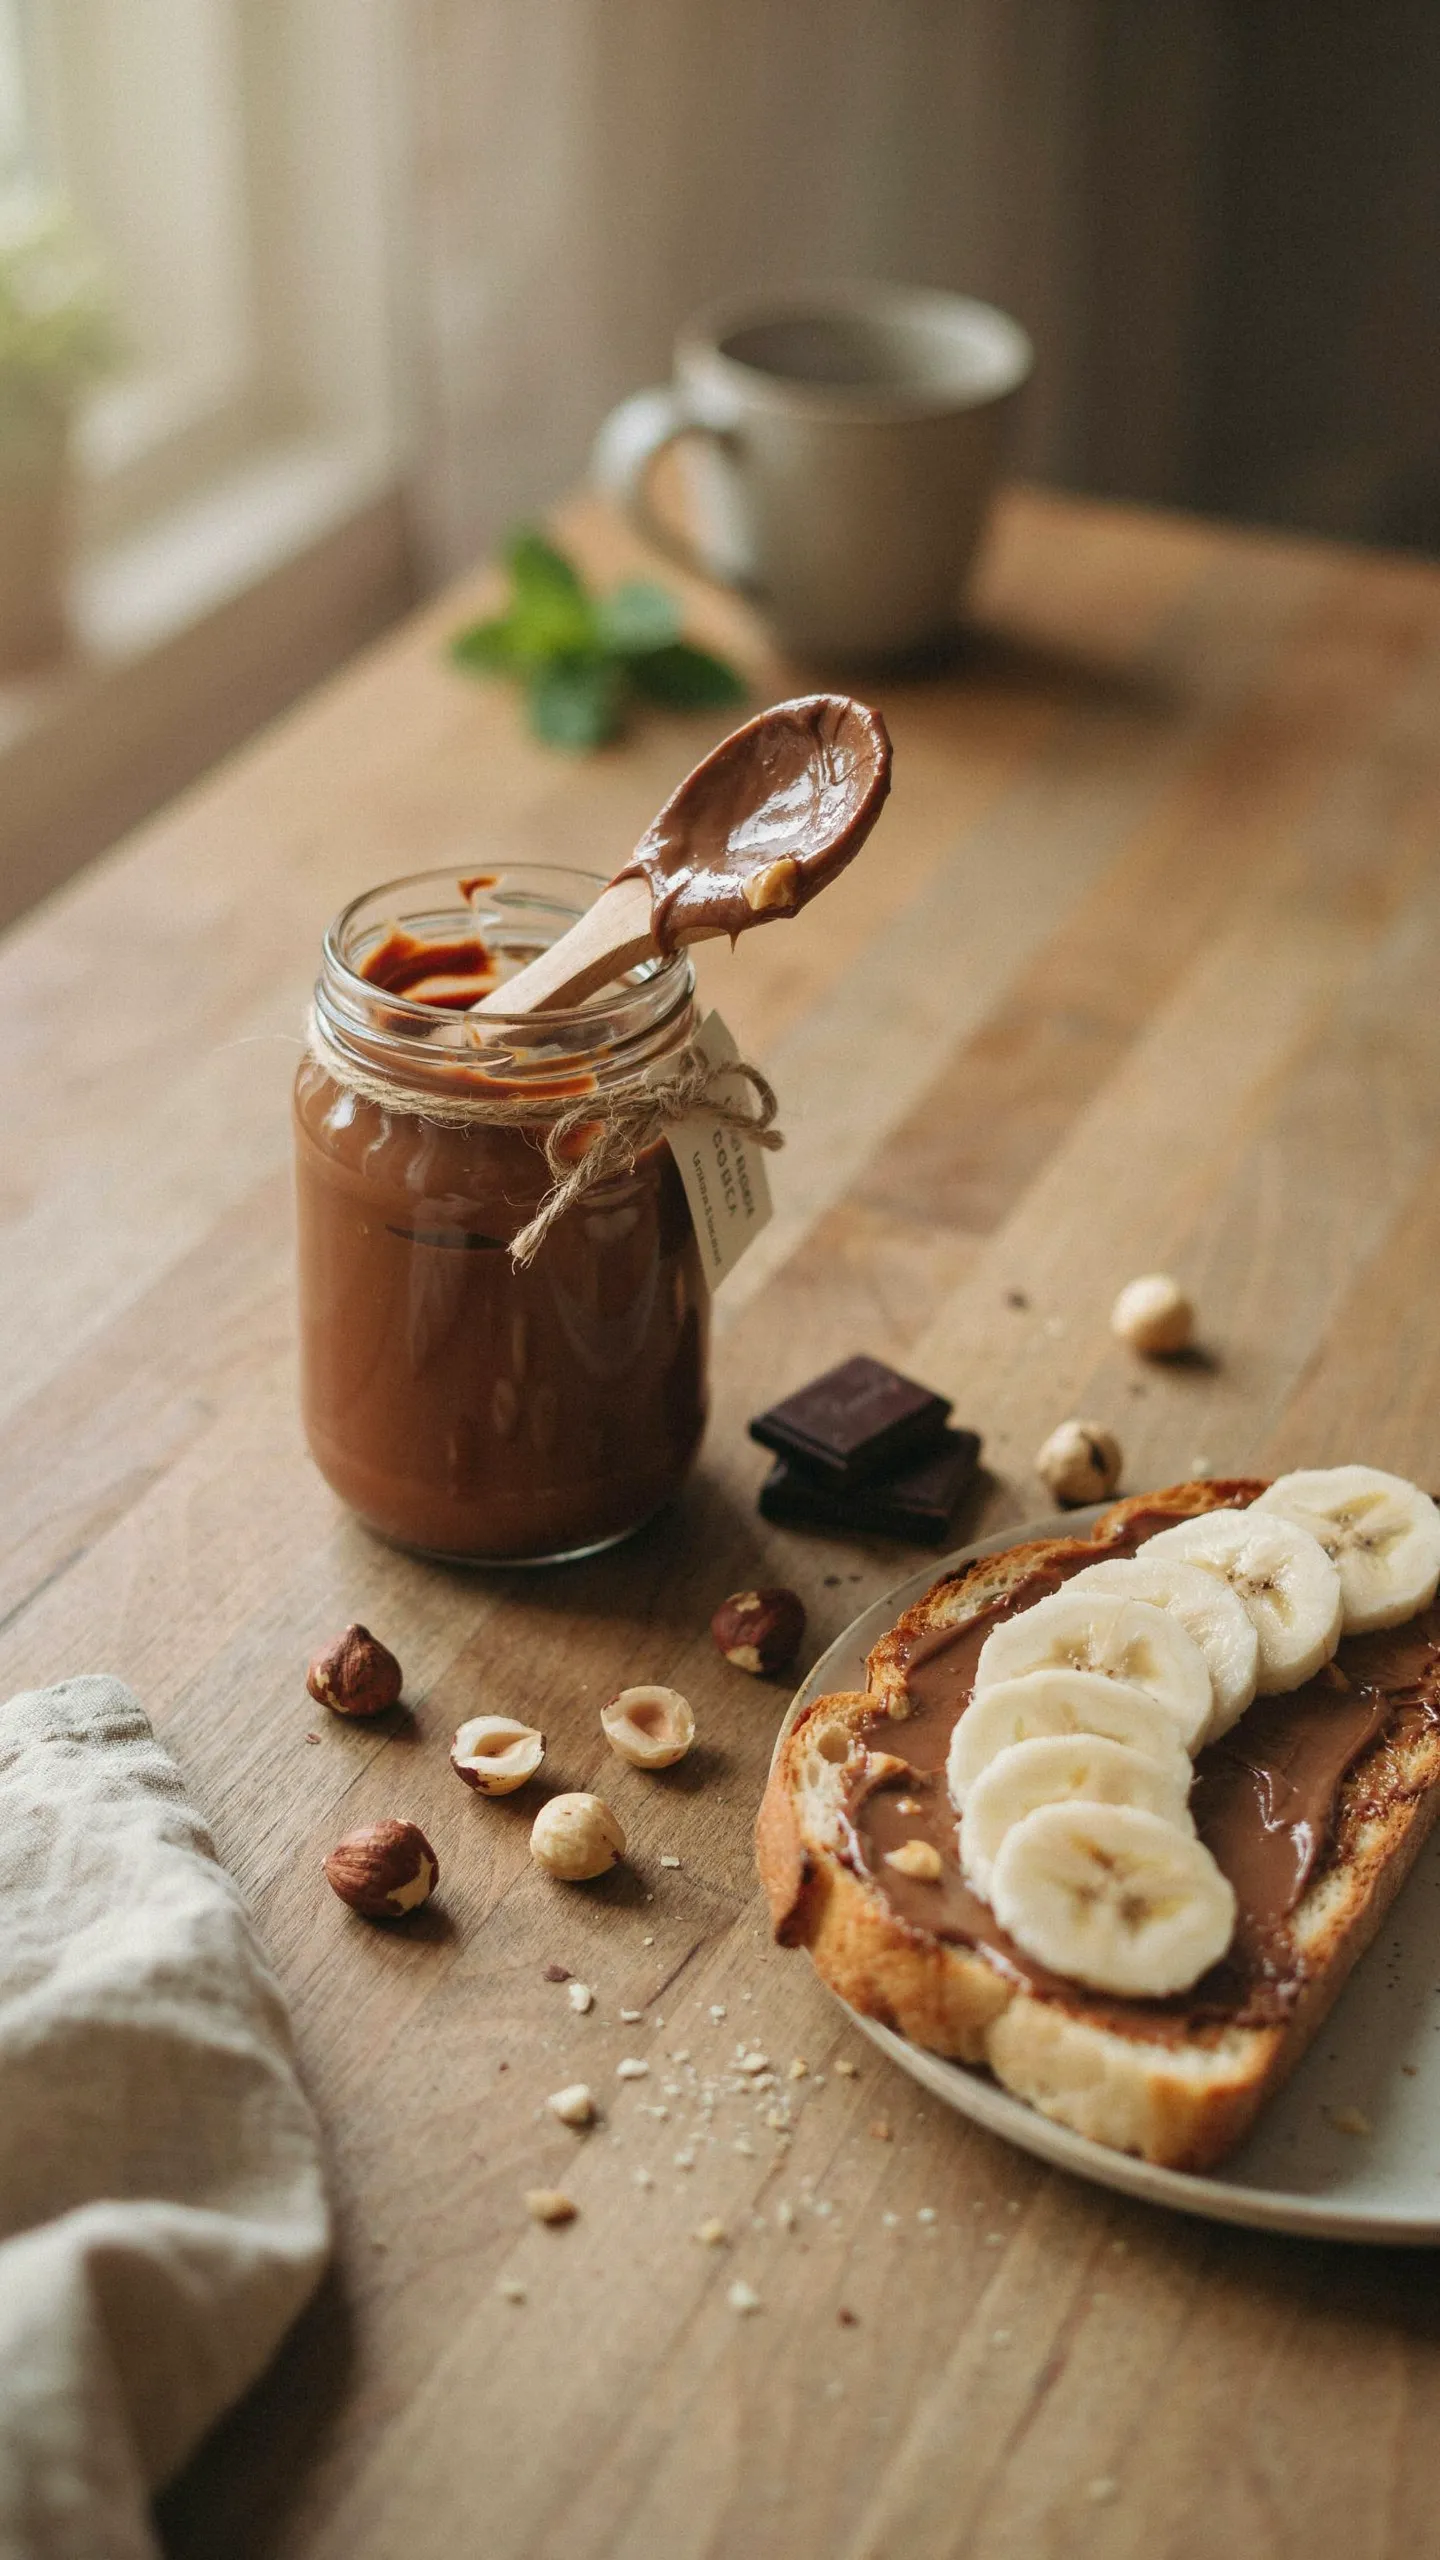
This three ingredient vegan Nutella has become one of the most used recipes in my entire kitchen and the one I share more enthusiastically than almost anything else I make regularly. It proves that the best version of a beloved classic is almost always the simplest homemade one made with real ingredients you can actually feel good about eating every single day. Save this pin right now and make a jar this weekend because once you taste it you will never reach for the store bought version again. Drop a comment below telling me how your batch turned out because I genuinely cannot wait to hear about it!