
Introduction
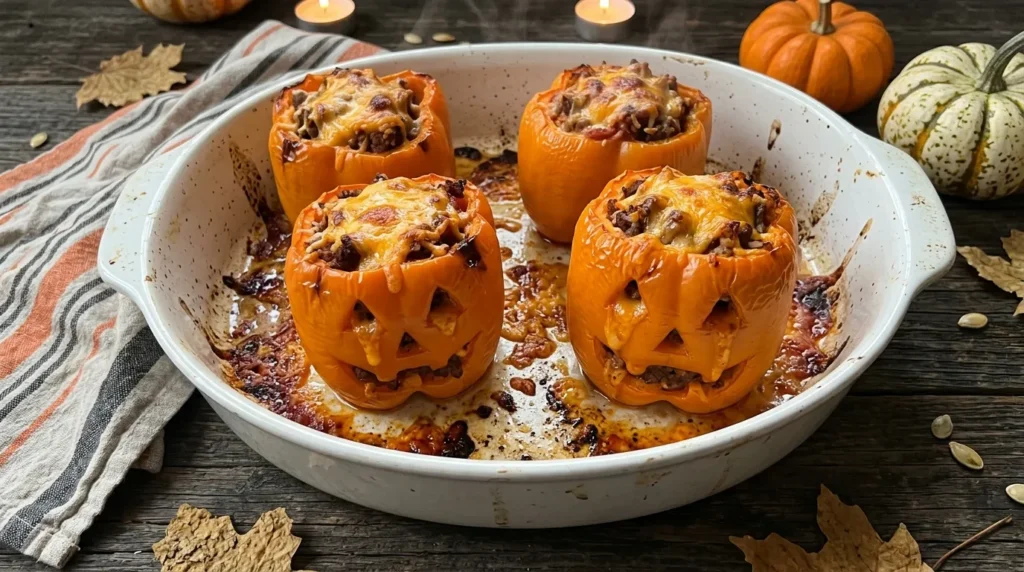
I started making these halloween stuffed peppers a few years ago when my daughter asked for “something spooky but not gross” for dinner. So I carved faces into orange bell peppers and stuffed them with the beef and rice filling we already loved. Now it’s the one Halloween dinner my whole family actually finishes, no bargaining required.
Why You’ll Love This Recipe
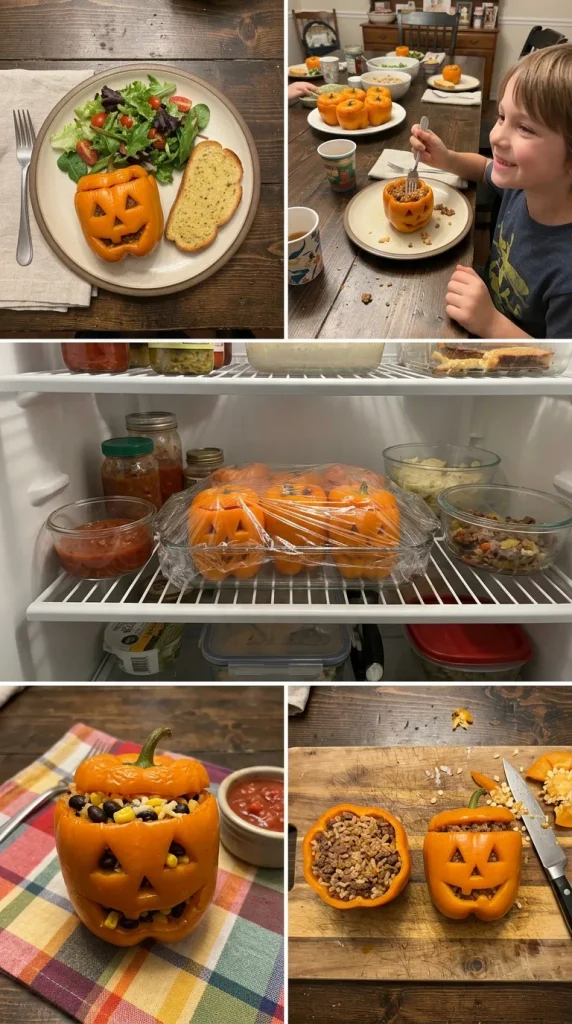
- The flavor is familiar, not weird. It’s the same cheesy beef and rice filling my kids grew up on, just dressed up for October.
- It’s a full dinner, not a side dish. You’re not scrambling to make something else to go with it.
- Kids actually want to eat their vegetables here. Mine stopped complaining about peppers the second I cut a face into one.
- It’s forgiving. I’ve swapped the meat, the rice, even the cheese, and it still works every time.
- You can prep it earlier in the day. I usually carve and stuff the peppers in the afternoon, then just bake them before dinner.
Ingredients
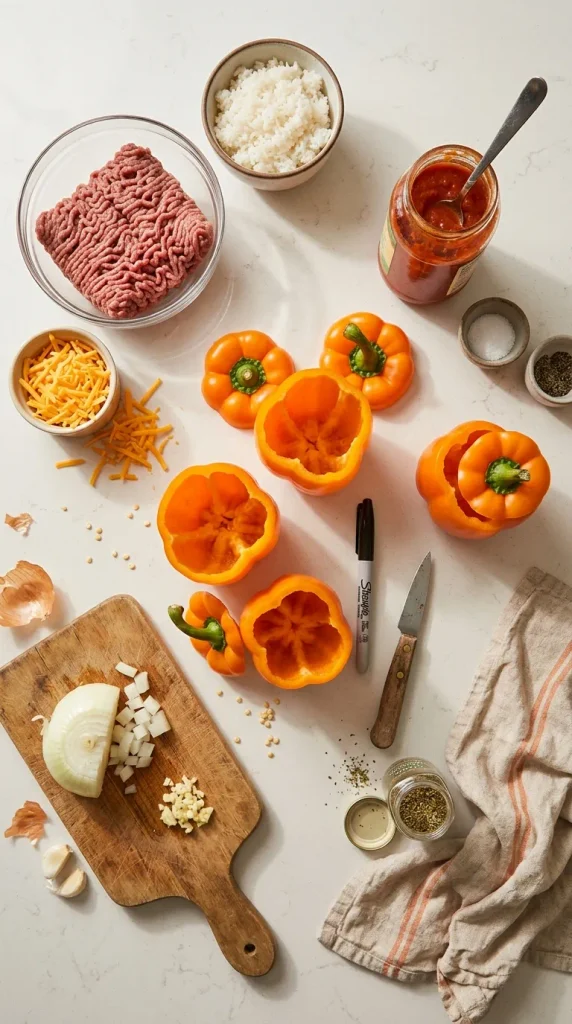
- 4 large orange bell peppers, tops cut off and seeds removed (orange gives the best pumpkin look, but any color works)
- 1 pound ground beef (or ground turkey, if that’s what’s in your fridge)
- 1 cup cooked rice (white, brown, or leftover rice all work fine)
- 1 cup shredded cheddar cheese, divided
- 1 cup marinara or tomato sauce
- 1/2 cup diced onion
- 2 cloves garlic, minced
- 1 teaspoon Italian seasoning
- Salt and pepper, to taste
Step-by-Step Instructions
- Preheat your oven to 375°F. Give it a full 10-15 minutes so it actually reaches temp before the peppers go in.
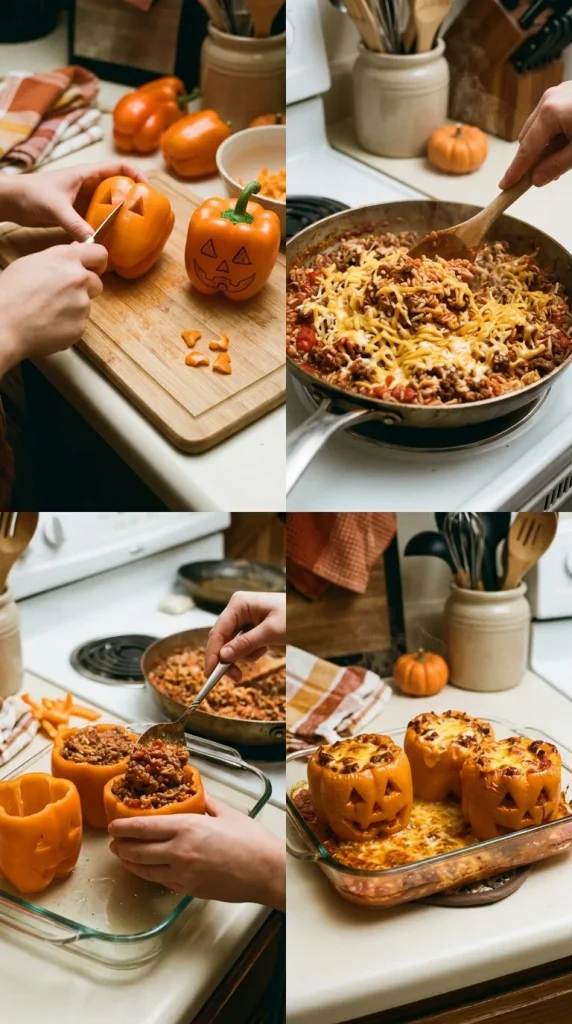
- Cut the tops off each pepper and carve a simple jack-o’-lantern face into the front with a paring knife. I draw the shape with a dry-erase marker first so I don’t mess it up halfway through.
- Remove the seeds and ribs from inside each pepper with a spoon, then set the peppers upright in a baking dish.
- Cook the onion and garlic in a skillet over medium heat for about 3 minutes, until the onion turns soft and you can smell the garlic.
- Add the ground beef and cook for 6-8 minutes, breaking it up as it goes, until there’s no pink left.
- Drain the extra fat, then stir in the cooked rice, marinara sauce, Italian seasoning, salt, pepper, and half the cheese.
- Taste the filling before you stuff anything. This is your last chance to adjust the seasoning, and I always end up adding a bit more salt here.
- Spoon the filling into each pepper, packing it in firmly so there aren’t any air pockets, right up to the top.
- Pour about 1/4 cup water into the bottom of the baking dish. This keeps the peppers from drying out while they bake.
- Cover the dish with foil and bake for 25 minutes, until the peppers start to soften but still hold their shape.
- Remove the foil, sprinkle the remaining cheese on top, and bake for another 10 minutes, until the cheese is melted and starting to brown at the edges.
- Let the peppers rest for 5 minutes before serving. They’re very hot right out of the oven, and this also lets the filling set a little.
Expert Tips
- Pick peppers that can stand on their own. A flat bottom means they won’t tip over mid-bake and spill the filling.
- Don’t skip the water in the pan. I forgot it once and the bottoms of my peppers scorched before the filling finished cooking.
- Carve the faces before you cook the filling. It’s much easier to work with a cold, empty pepper than a hot, full one.
- If your peppers are extra thick-walled, add 5-10 minutes to the covered bake time so they soften all the way through.
Variations
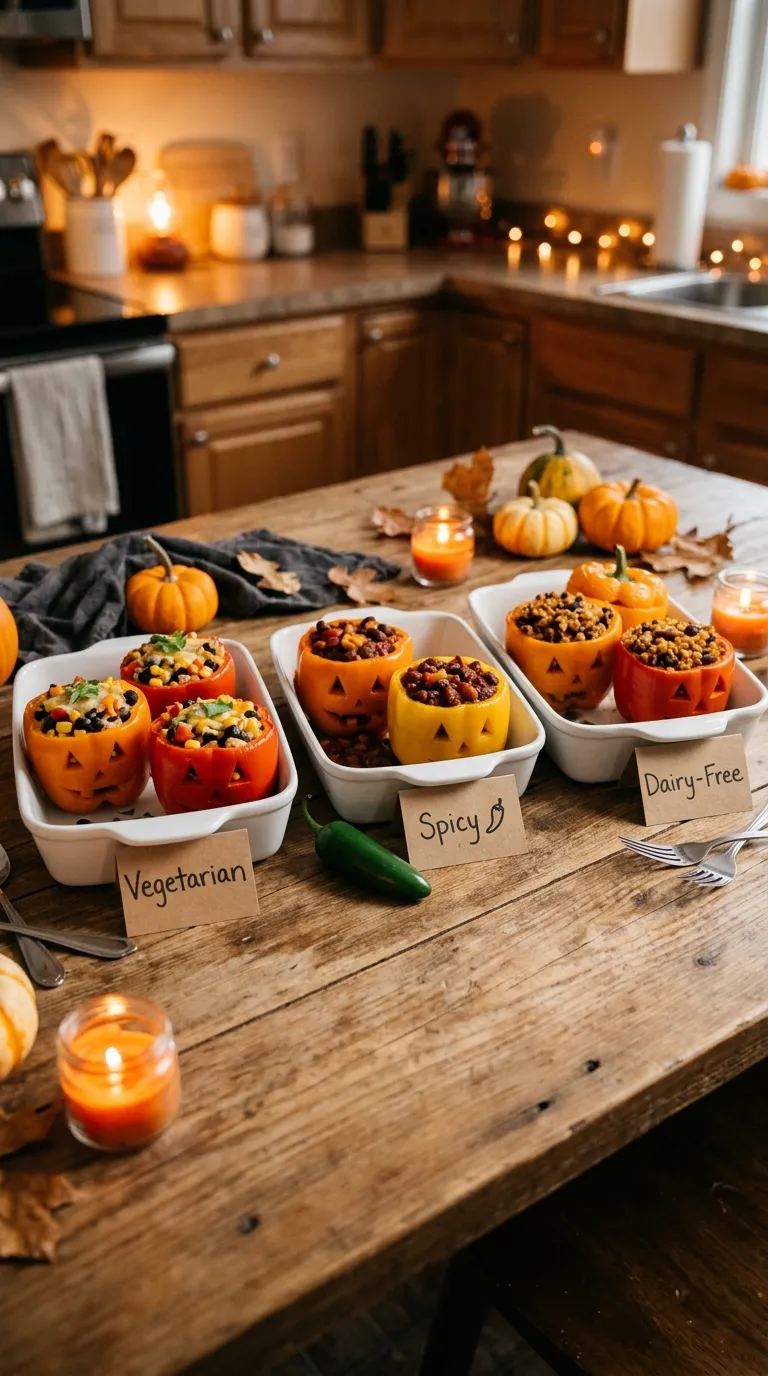
- Vegetarian version: I’ve swapped the beef for a can of black beans plus extra rice, and it holds together just as well.
- Spicy version: My husband likes a diced jalapeño mixed into the filling, which adds a nice kick without overwhelming the kids’ portions.
- Gluten-free version: This recipe is naturally gluten-free as long as your marinara sauce doesn’t have added fillers, so I always check the label.
Storage & Serving
Leftovers keep well in the fridge for up to 4 days in an airtight container. I freeze unbaked stuffed peppers for up to 2 months, then bake them straight from frozen, adding about 15 extra minutes. To reheat, I use a 350°F oven for 15 minutes rather than the microwave, since it keeps the pepper from turning mushy.
For serving, I like a side salad, garlic bread, or roasted broccoli. A dollop of sour cream on top is also a favorite in my house.
FAQs
Can I make these ahead of time?
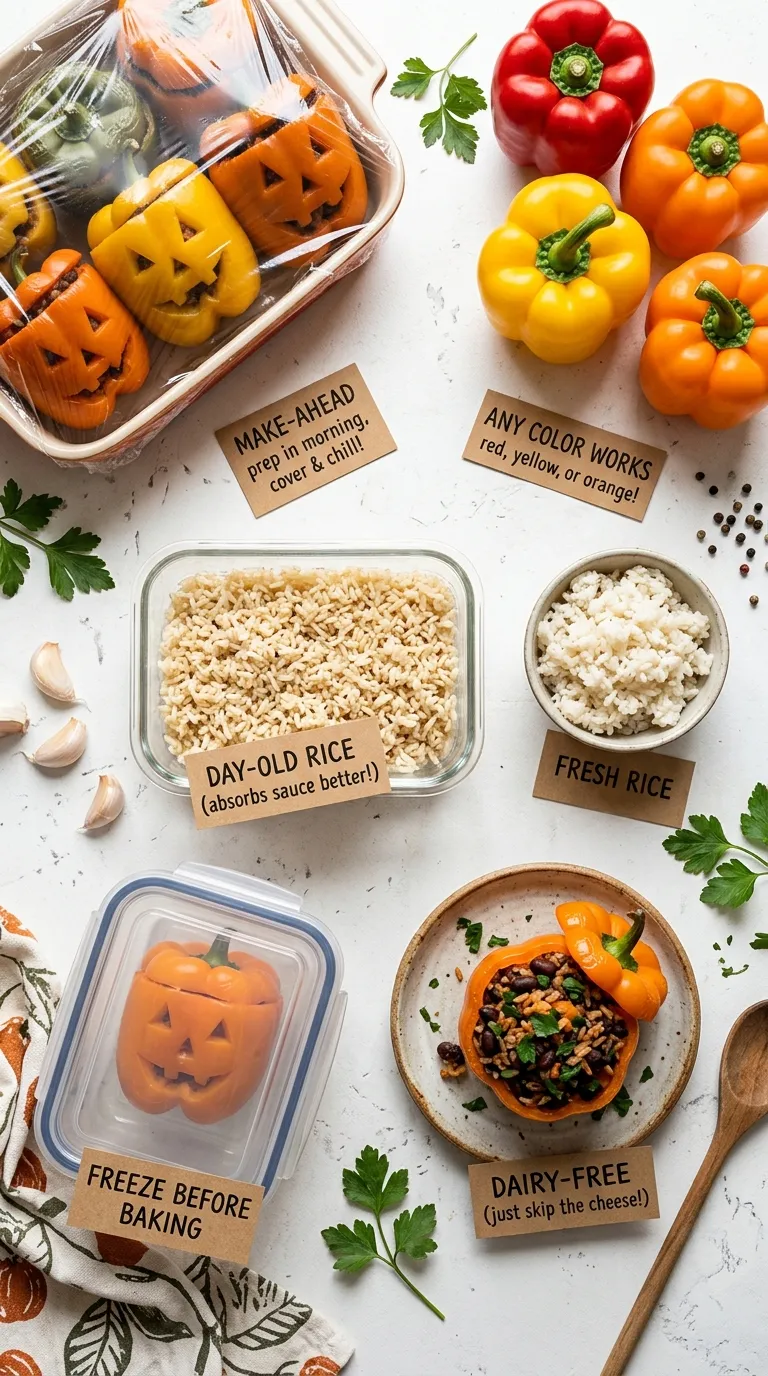
Yes, I carve and stuff the peppers in the morning, cover them, and refrigerate until I’m ready to bake that evening.
What’s the best pepper substitute for a funny face?
I stick with bell peppers for the shape, but if orange isn’t available, yellow or red work fine too.
How long do leftovers actually keep?
I’ve kept mine in the fridge for 4 days and they still tasted fresh when reheated.
Can I freeze these?
Yes, I freeze them unbaked and bake from frozen, adding roughly 15 minutes to the covered bake time.
Can I use leftover rice?
I do this almost every time. Leftover rice actually works better since it’s drier and soaks up the sauce.
Is this recipe kid-friendly?
Mine is the reason this recipe exists. My daughter asks for it every October.
Can I make it dairy-free?
I’ve left the cheese out entirely and the filling still tastes good, just a little less rich.
Final Thoughts
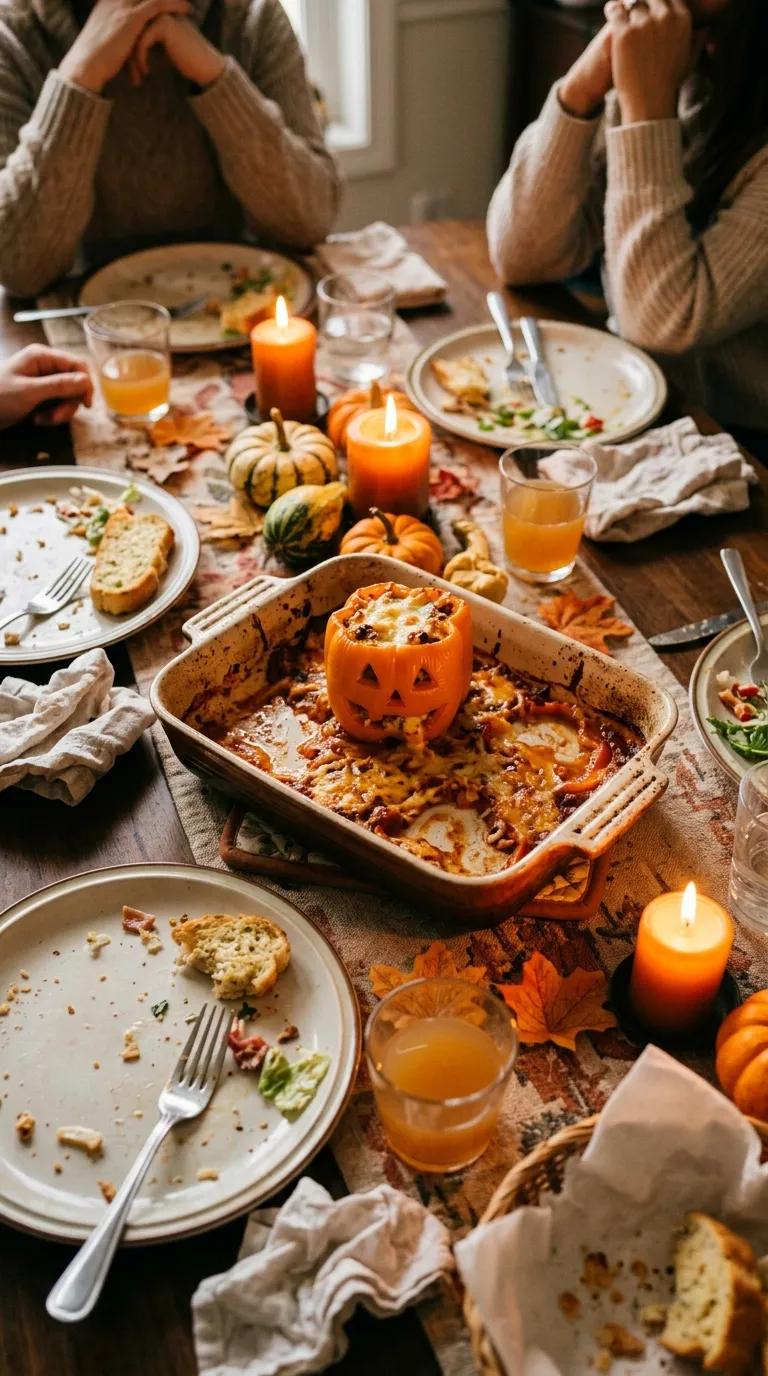
This is the Halloween dinner that actually gets eaten in my house, faces and all. Give it a try this year, and if your kids carve their own faces, send me a picture. Save this one on Pinterest for next October, and let me know in the comments how your peppers turned out.