
Introduction
I’ve been on a mission to create the perfect chocolate brownie cookie for years. Most recipes I tried either gave me cakey cookies or dry chocolate discs that were nothing like the fudgy brownies I craved. After dozens of tests and plenty of kitchen fails, I finally cracked it.
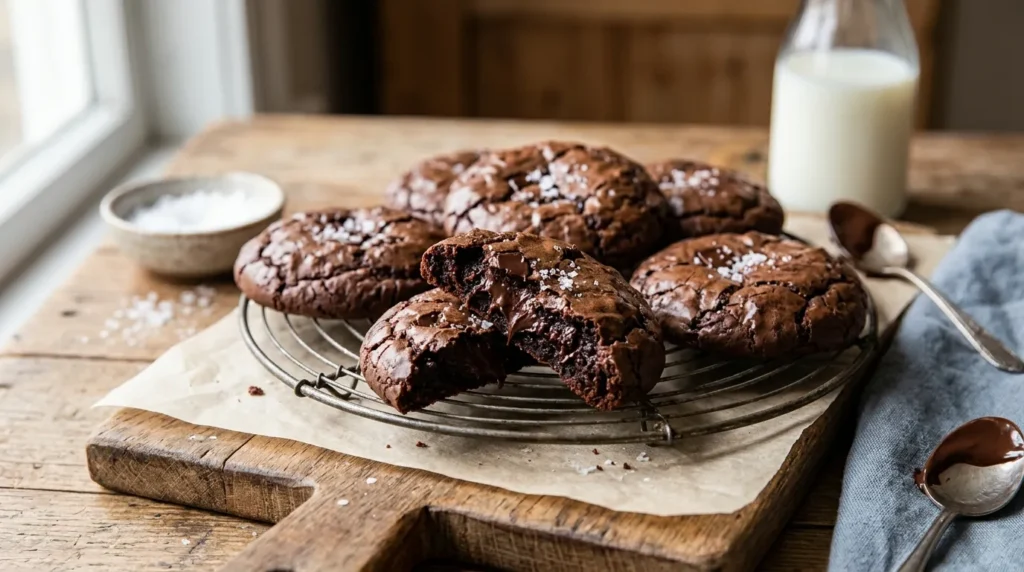
The trick? Pulling them from the oven while the centers still look slightly underdone and using melted chocolate for that dense, fudgy texture . These cookies have that signature crackly top and a center so gooey, you’ll swear you’re eating a brownie.
Why You’ll Love This Recipe
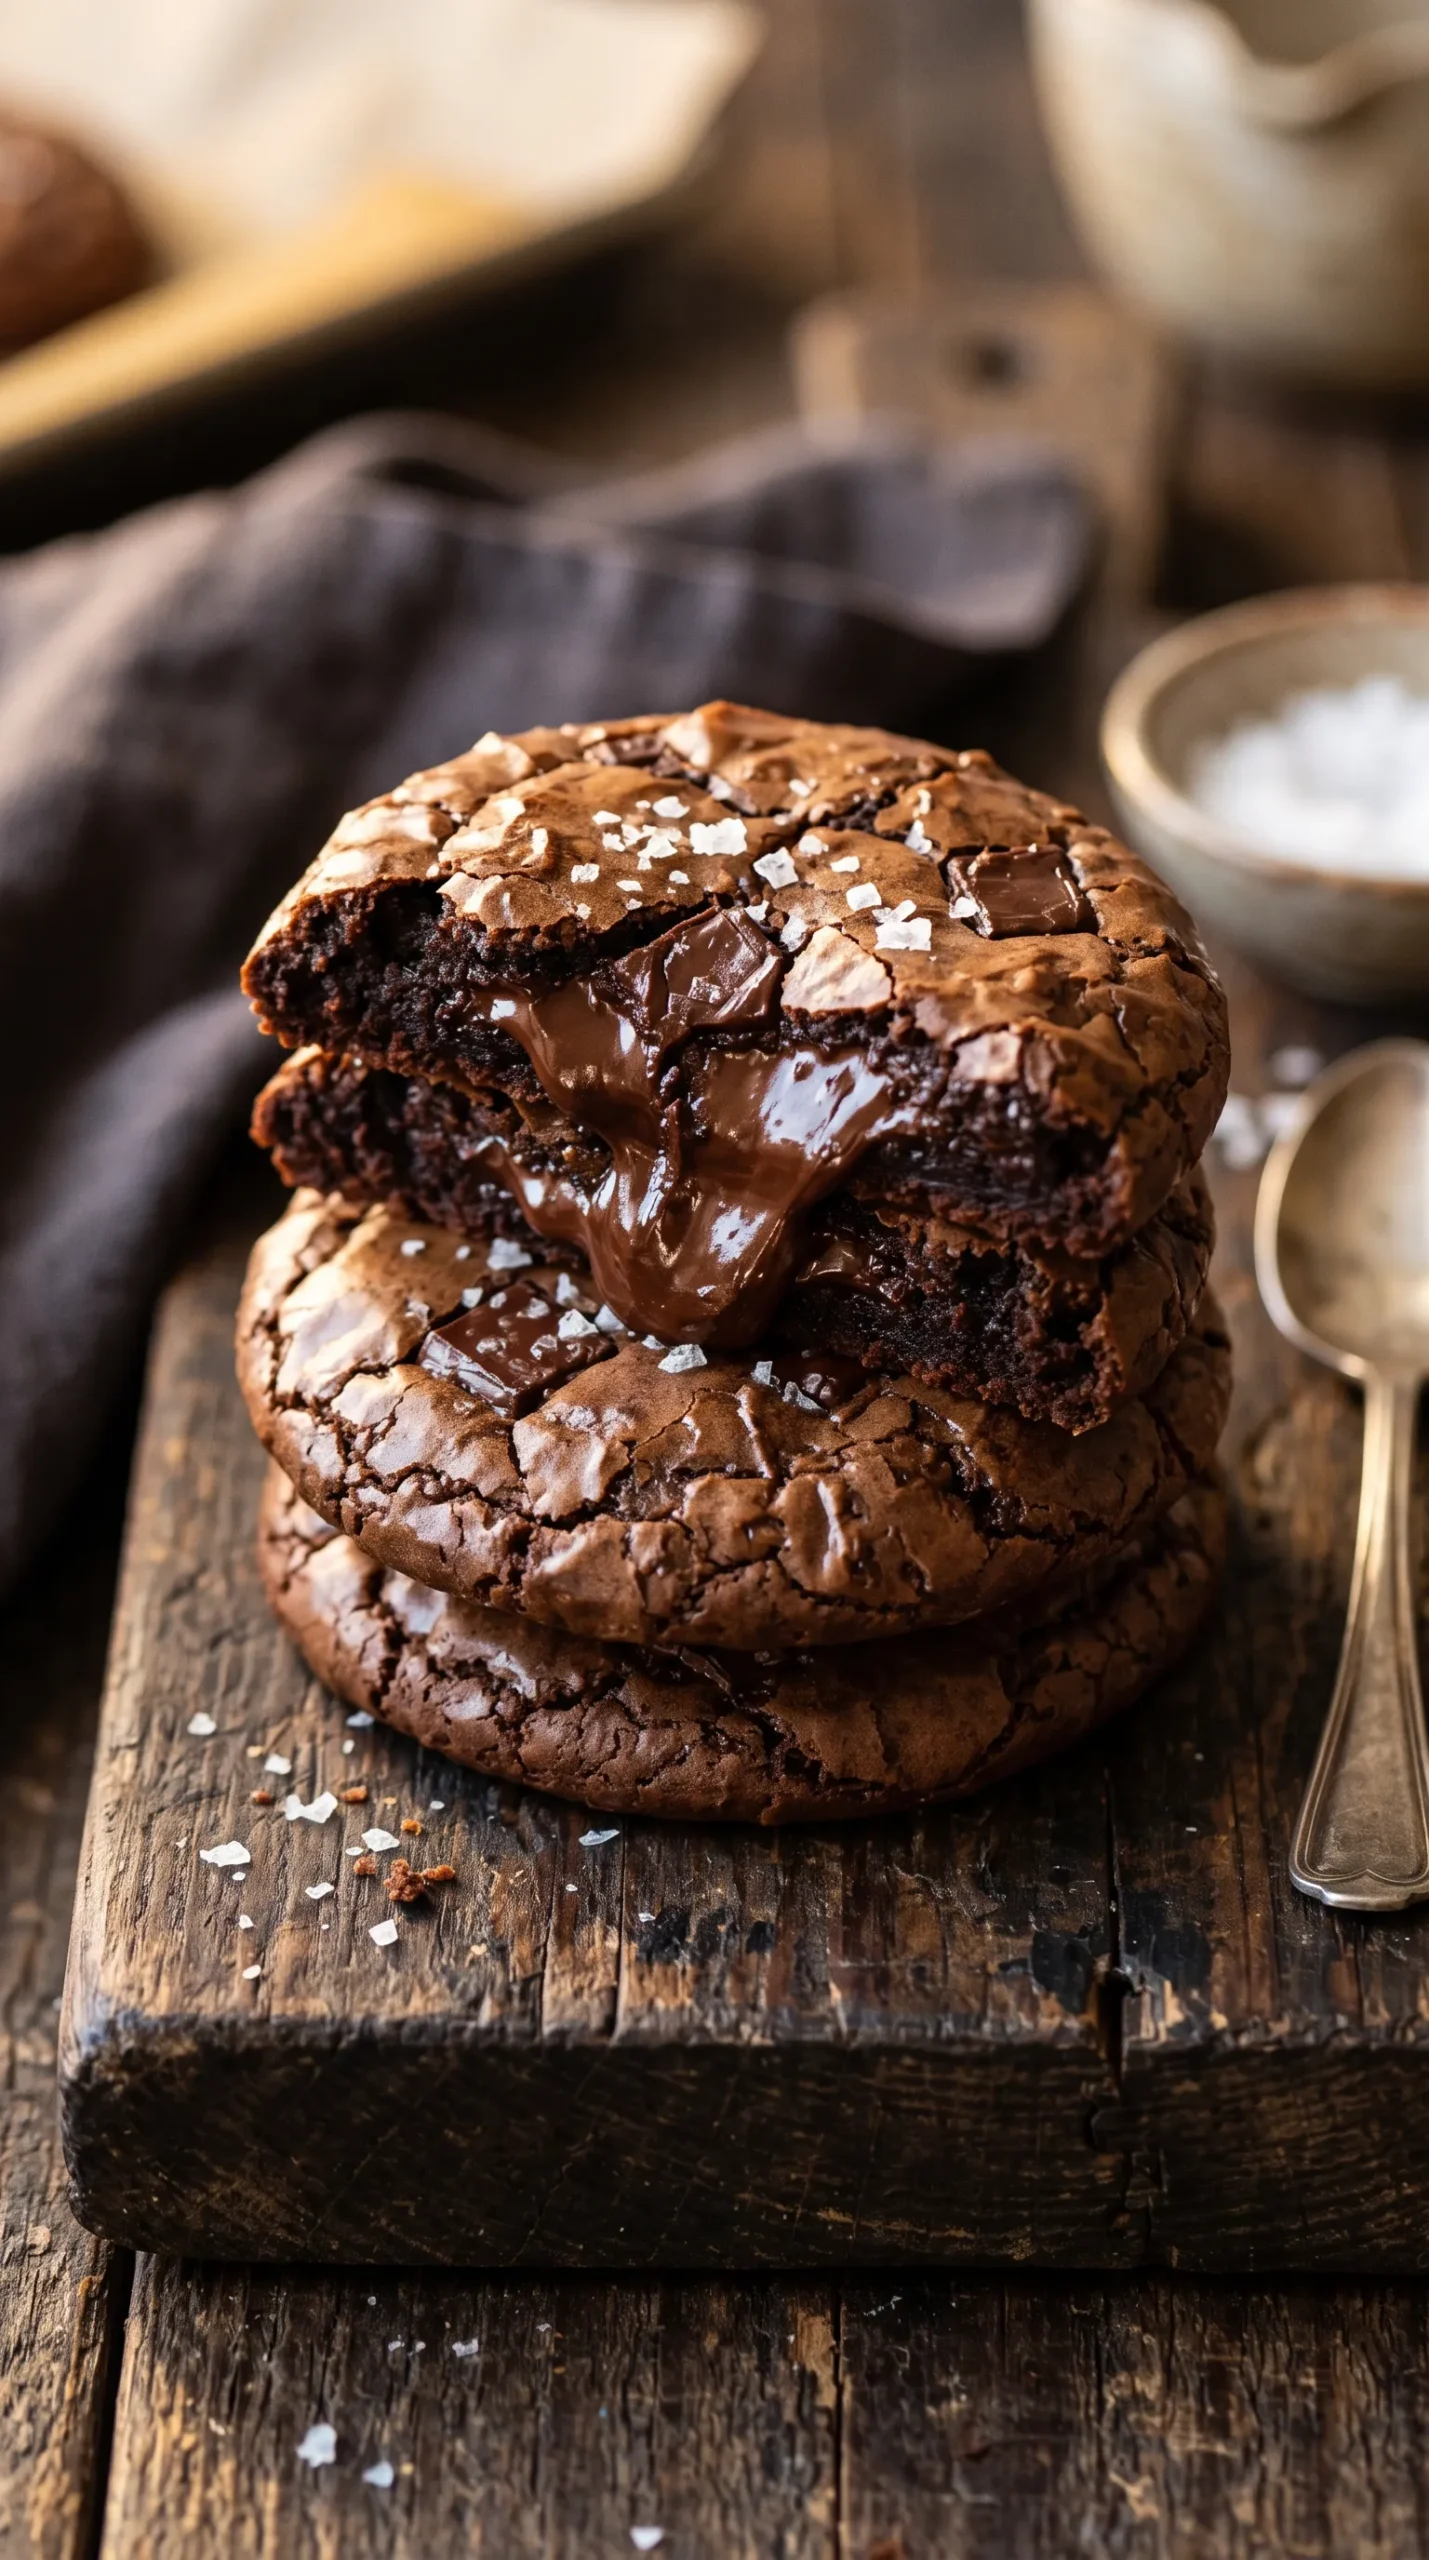
- The texture is perfect. These cookies have crisp edges, a shiny crackled top, and a center that stays soft and fudgy for days. They’re not cakey, and they’re definitely not dry.
- They come together fast. From start to finish, you’re looking at about 25 minutes total. No chilling required, which means you can satisfy a chocolate craving in no time .
- The crackly top is foolproof. That bakery-style glossy crust happens naturally when you whip the eggs and sugar properly. I learned this trick after my first batch came out flat and dull.
- Everyone goes crazy for them. I’ve brought these to parties and bake sales, and they disappear within minutes. Chocolate lovers can’t resist them.
Ingredients
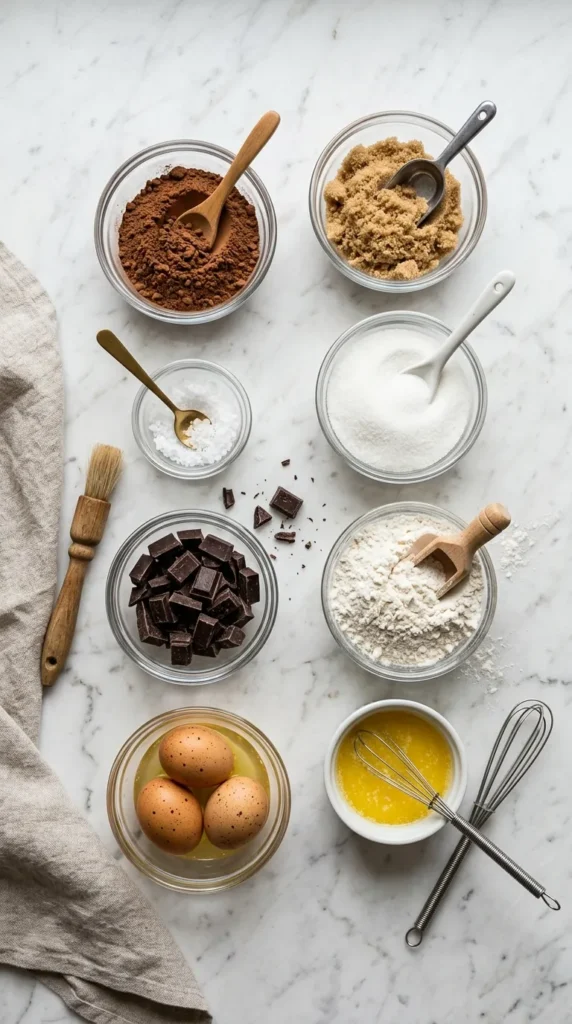
- ½ cup (113g) unsalted butter, melted
- 1 cup (200g) granulated sugar
- ¼ cup (55g) packed light brown sugar
- 2 large eggs, at room temperature
- 1 teaspoon vanilla extract
- ¾ cup (90g) all-purpose flour
- ½ cup (45g) unsweetened cocoa powder (Dutch-process gives a deeper flavor)
- ½ teaspoon salt
- ¼ teaspoon baking powder
- 4 ounces (113g) bittersweet chocolate, chopped (60-70% cacao works great)
- ½ cup (85g) semi-sweet chocolate chips
- Flaky sea salt for sprinkling (optional but highly recommended)
Step-by-Step Instructions
- Preheat your oven to 350°F (175°C). Line two baking sheets with parchment paper. This prevents sticking and makes cleanup so much easier.
- Melt the butter. In a microwave-safe bowl, melt the butter in 20-second intervals until it’s fully liquid. Let it cool for a couple of minutes so you don’t scramble the eggs.
- Whisk the wet ingredients. In a large bowl, combine the melted butter, granulated sugar, and brown sugar. Whisk until smooth. Add the eggs one at a time, whisking well after each addition. Stir in the vanilla. The mixture should look glossy and slightly thickened.
- Mix the dry ingredients. In a separate bowl, whisk together the flour, cocoa powder, salt, and baking powder. Make sure there are no lumps.
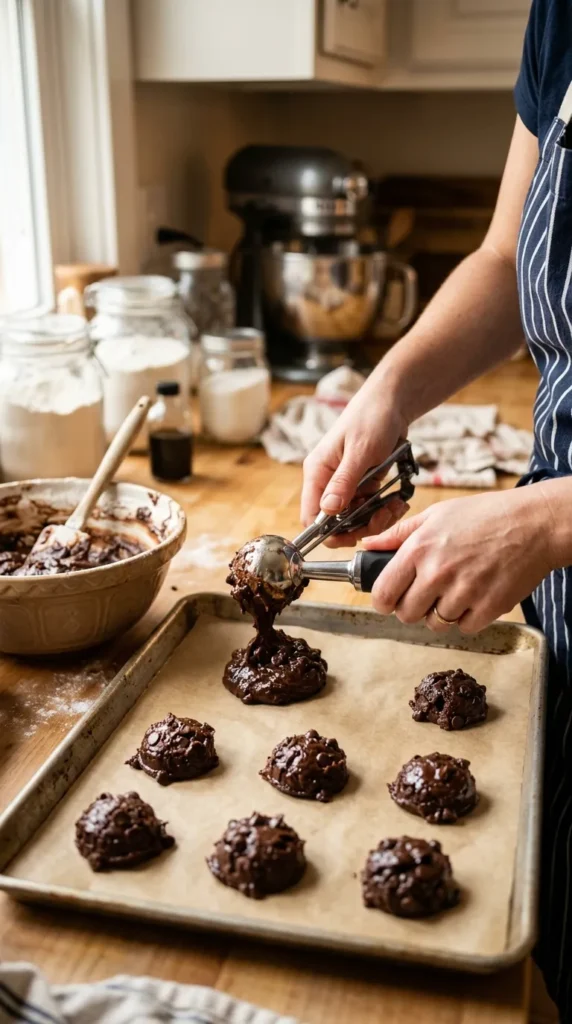
- Combine everything. Gradually add the dry ingredients to the wet mixture. I use a spatula and fold gently until just a few streaks of flour remain. Overmixing develops gluten and will give you cakey cookies instead of fudgy ones . The dough should be thick and sticky, like brownie batter.
- Fold in the chocolate. Gently fold in the chopped bittersweet chocolate and the semi-sweet chocolate chips. I like using chopped chocolate because it creates those beautiful melted pockets in every bite.
- Scoop the dough. Using a 1.5-tablespoon cookie scoop, drop mounds of dough onto the prepared baking sheets. Leave about 2 inches between each cookie—they spread while baking.
- Bake for 10 to 12 minutes. This is the most important part. The edges should look set and the tops will be crackled and glossy, but the centers will still look soft and slightly underdone. Don’t wait for them to look fully baked !
- Let them rest on the pan. This step makes all the difference. Leave the cookies on the baking sheet for 5 full minutes. They’ll firm up as they cool, and that’s when the fudgy center sets perfectly . Sprinkle with flaky sea salt right after they come out of the oven if you’re using it.
- Transfer to a wire rack. After 5 minutes, carefully move the cookies to a rack to cool completely. They’ll stay soft and fudgy for days.
Expert Tips
- Room temperature eggs are non-negotiable. Cold eggs won’t whip up properly, and that airiness is what creates the crackly top. I leave mine out on the counter for about 30 minutes before I start baking .
- Whisk the eggs and sugar thoroughly. This step takes about 3 to 4 minutes with a hand mixer. The mixture should become thick, pale, and ribbony, when you lift the whisk, it should fall back in a slow ribbon. This is the secret to that glossy crust .
- Underbake them. I learned this the hard way after my first batch turned out dry and cakey. Pull them when the centers look wet and gooey, they’ll finish cooking from the residual heat of the pan. Trust me on this one.
- Use good quality chocolate. The flavor really depends on what you’re using. A 60-70% bittersweet chocolate bar gives the best depth and richness .
Variations
- Peppermint brownie cookies. I’ve added ½ teaspoon of peppermint extract with the vanilla, and folded in chopped Andes mints instead of chocolate chips. They’re always a hit during the holidays.
- Nutty brownie cookies. Fold in ½ cup of toasted chopped walnuts or pecans. The crunch pairs beautifully with the fudgy texture.
- Espresso-enhanced. Add 1 teaspoon of instant espresso powder with the dry ingredients. It doesn’t make them taste like coffee, it just makes the chocolate flavor more intense.
Storage & Serving
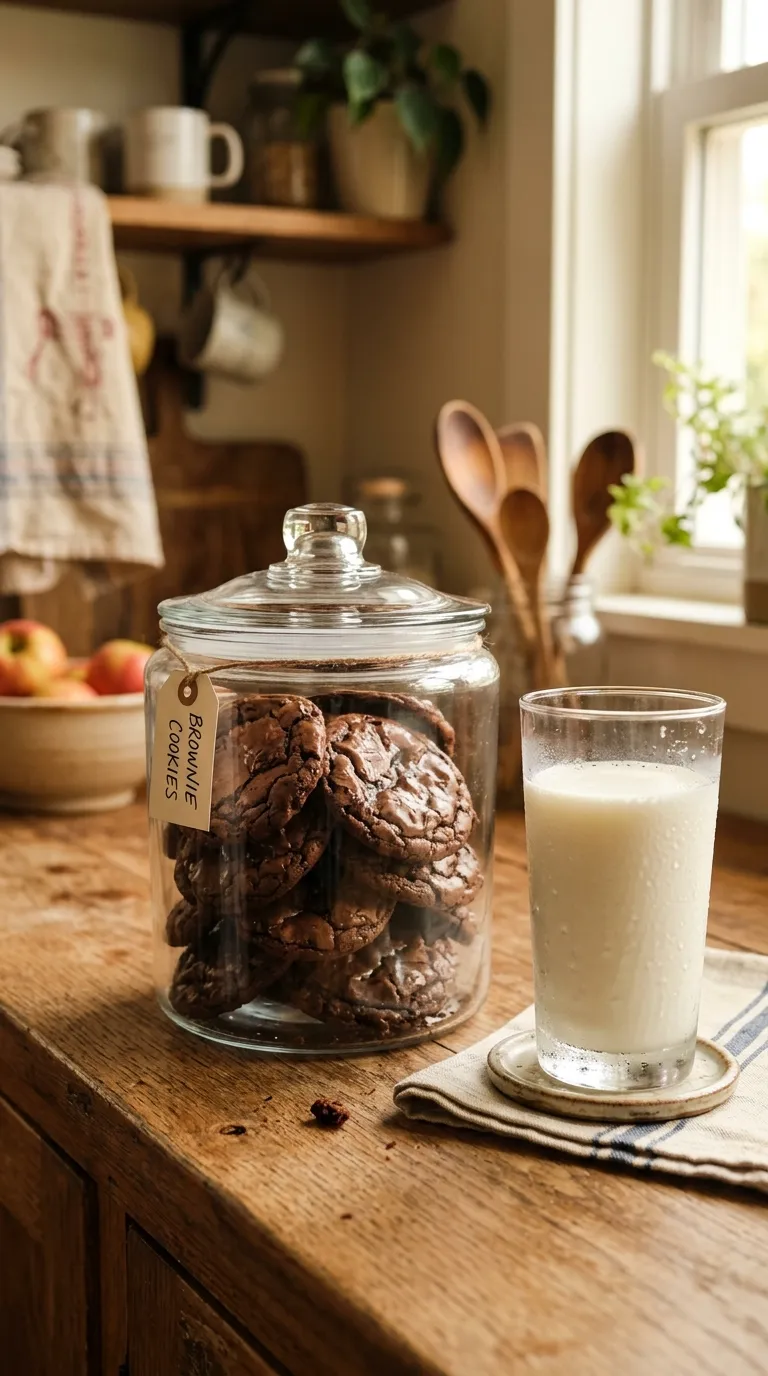
Store the cooled cookies in an airtight container at room temperature. They’ll stay wonderfully fudgy for up to 4 days . To keep them extra soft, I add a slice of bread to the container; the cookies absorb moisture from it.
You can freeze the baked cookies too. Place them in a single layer on a baking sheet to freeze solid, then transfer them to a zip-top bag. They’ll keep for up to 3 months . Let them thaw at room temperature before serving.
These cookies are amazing on their own, but they’re even better with a glass of cold milk or a scoop of vanilla ice cream. They also make a killer ice cream sandwich filling.
FAQs
Can I make these ahead of time?
Absolutely. The dough comes together so fast that I usually make them the same day, but you can store baked cookies in an airtight container for up to 4 days. They taste just as good on day 4 as they did fresh out of the oven.
What’s the best substitute for bittersweet chocolate?
You can use semi-sweet chocolate chips or a dark chocolate bar in a pinch. Just make sure it’s a high-quality chocolate you’d actually enjoy eating on its own. It makes a huge difference in the final flavor.
Why didn’t my cookies develop crackly tops?
This usually happens when the eggs and sugar aren’t whipped long enough. You need to beat them until they’re thick and pale—about 3 to 4 minutes. The aeration is what creates that glossy, crackled crust .
How long do these cookies keep?
At room temperature in an airtight container, they stay fudgy for up to 4 days. If they last that long in your house! You can also freeze them for up to 3 months.
Can I freeze the cookie dough?
Yes! I scoop the dough into balls, freeze them on a baking sheet, then transfer to a freezer bag. When you’re ready to bake, add 1 to 2 minutes to the baking time. No need to thaw .
Why are my cookies cakey instead of fudgy?
Two things: overmixing the dough and overbaking. Mix the dry ingredients in just until combined—stop as soon as you see the last streak of flour. And remember to pull them when the centers still look soft!
Can I make these gluten-free?
I’ve used a 1:1 gluten-free flour blend with good results. The texture is slightly different but still deliciously fudgy. Just make sure your flour blend contains xanthan gum for structure.
Final Thoughts
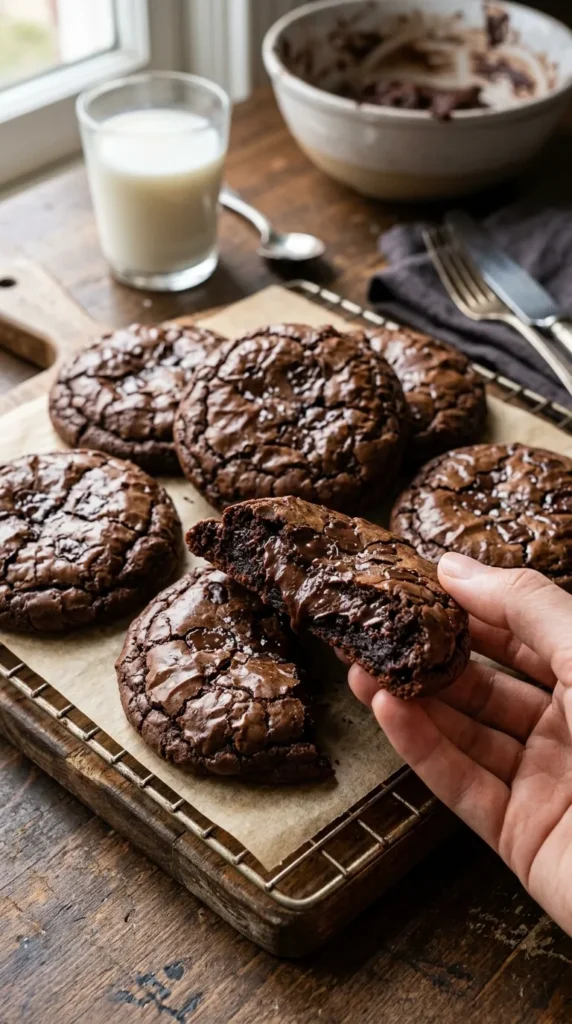
These chocolate brownie cookies have become my go-to whenever I need a serious chocolate fix. They’re quick enough for a last-minute craving but impressive enough for parties and bake sales. I hope you love them as much as my family does. If you make them, I’d love to hear how they turned out! Drop a comment and let me know! And don’t forget to pin this recipe for later.